The Adventure Starts Here: photography
Showing posts with label photography. Show all posts

Tuesday, September 20, 2016

5 Ways to Document Your Life

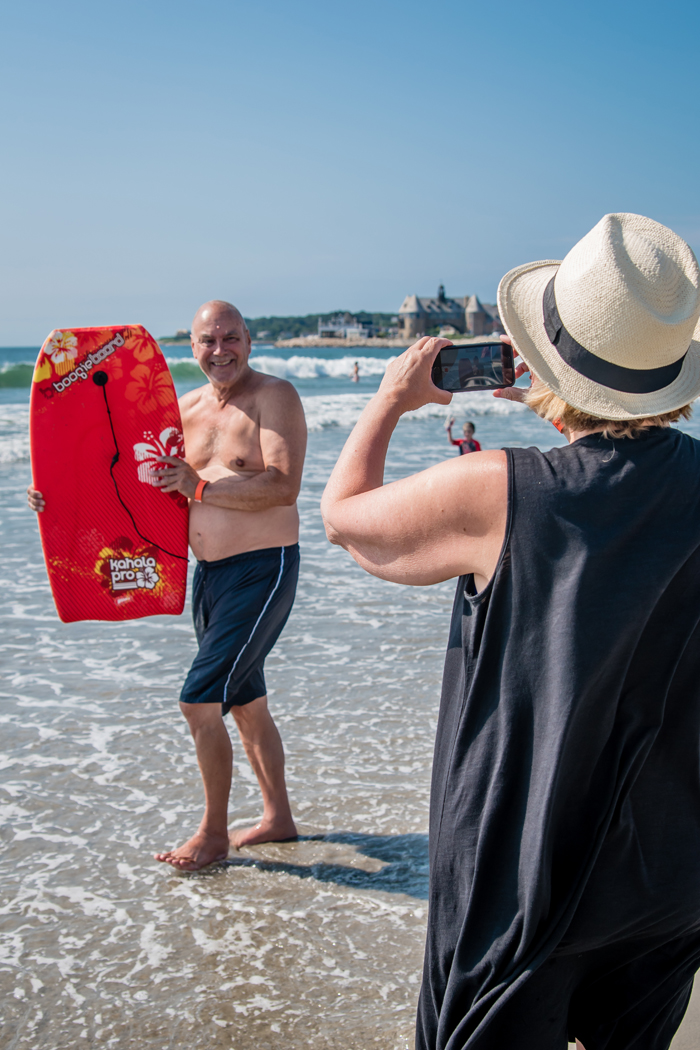
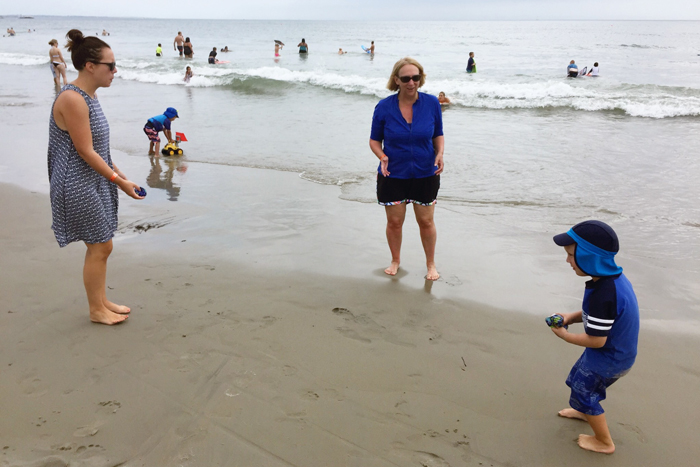
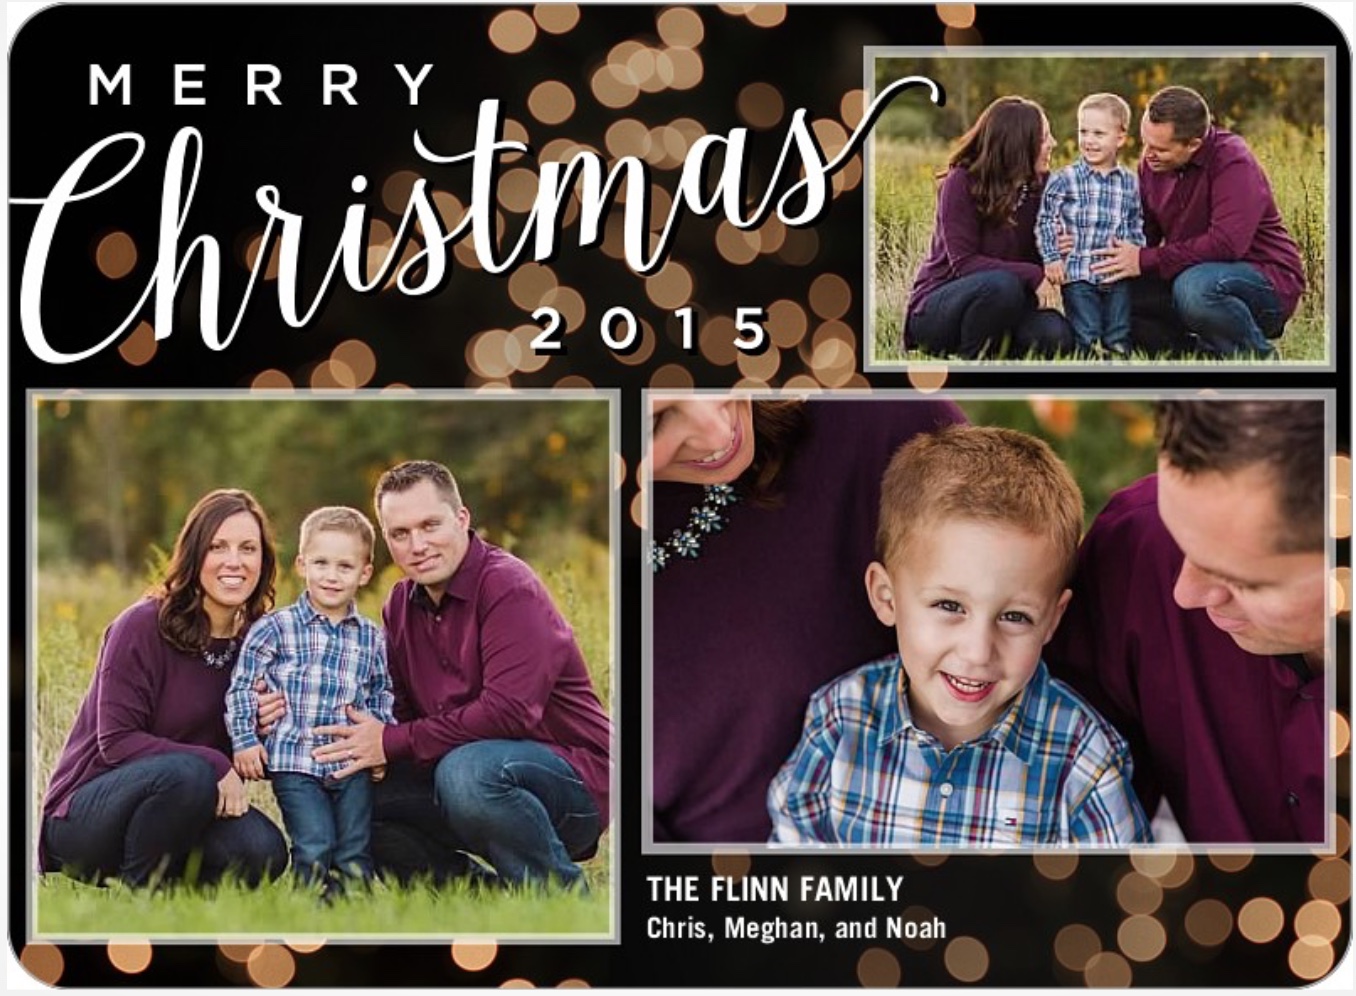
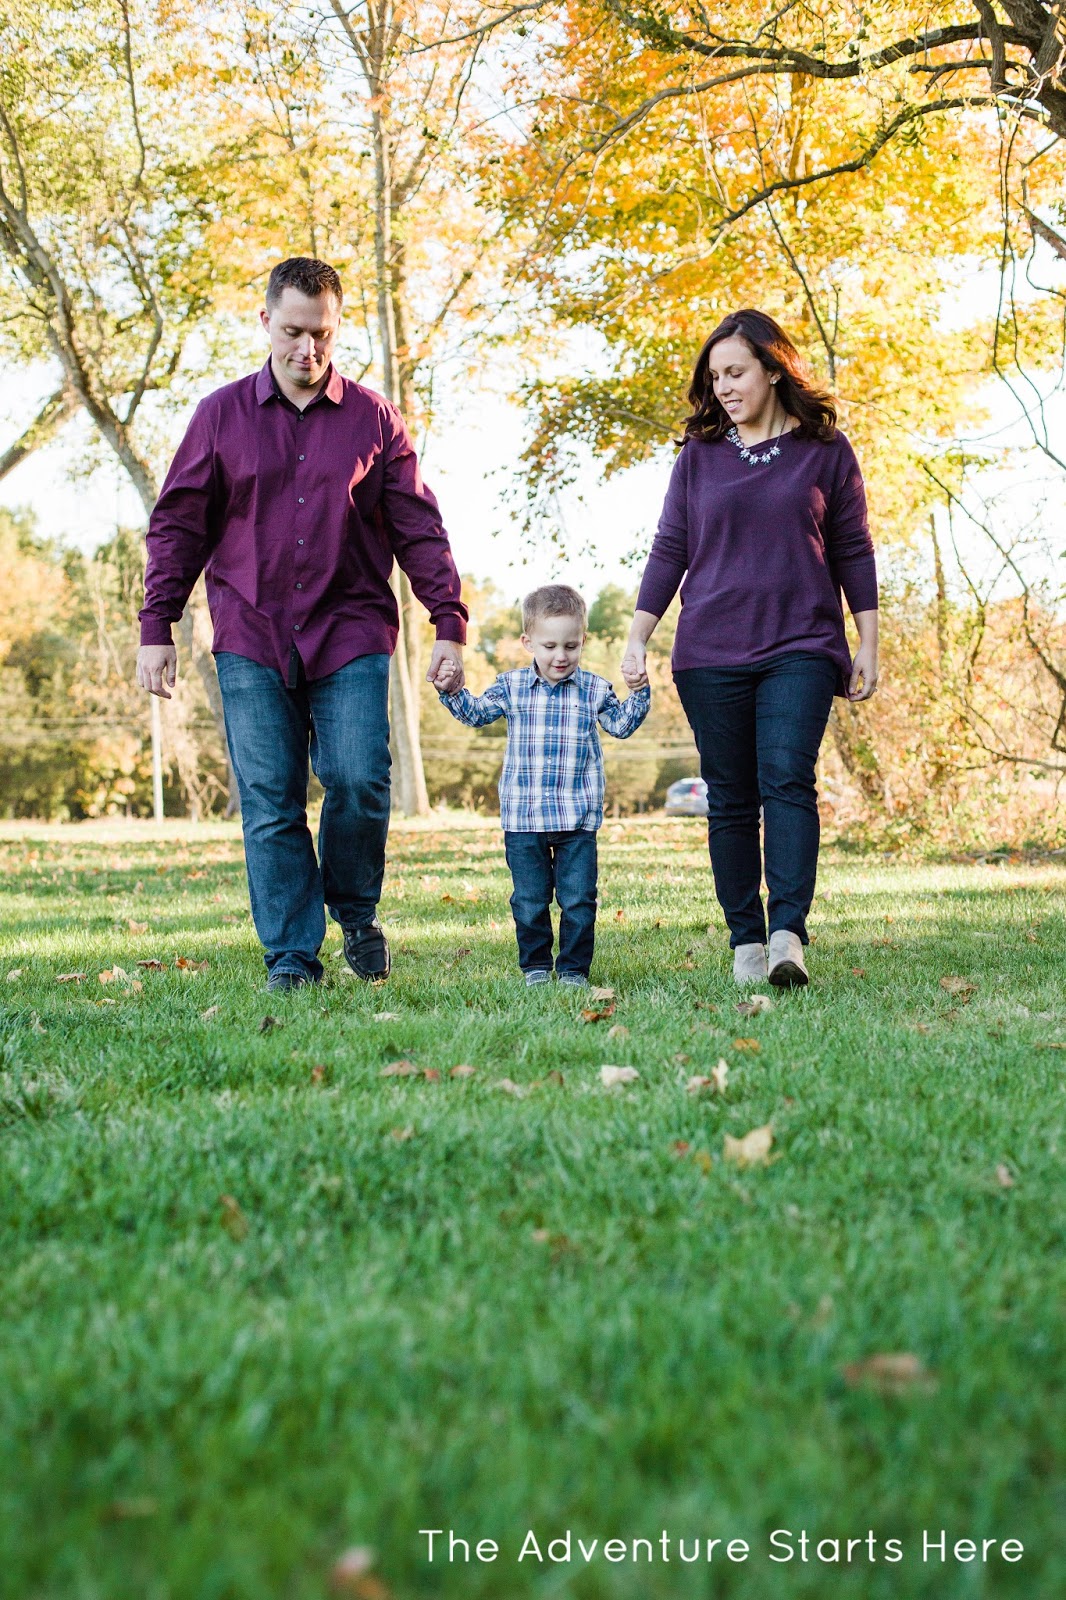
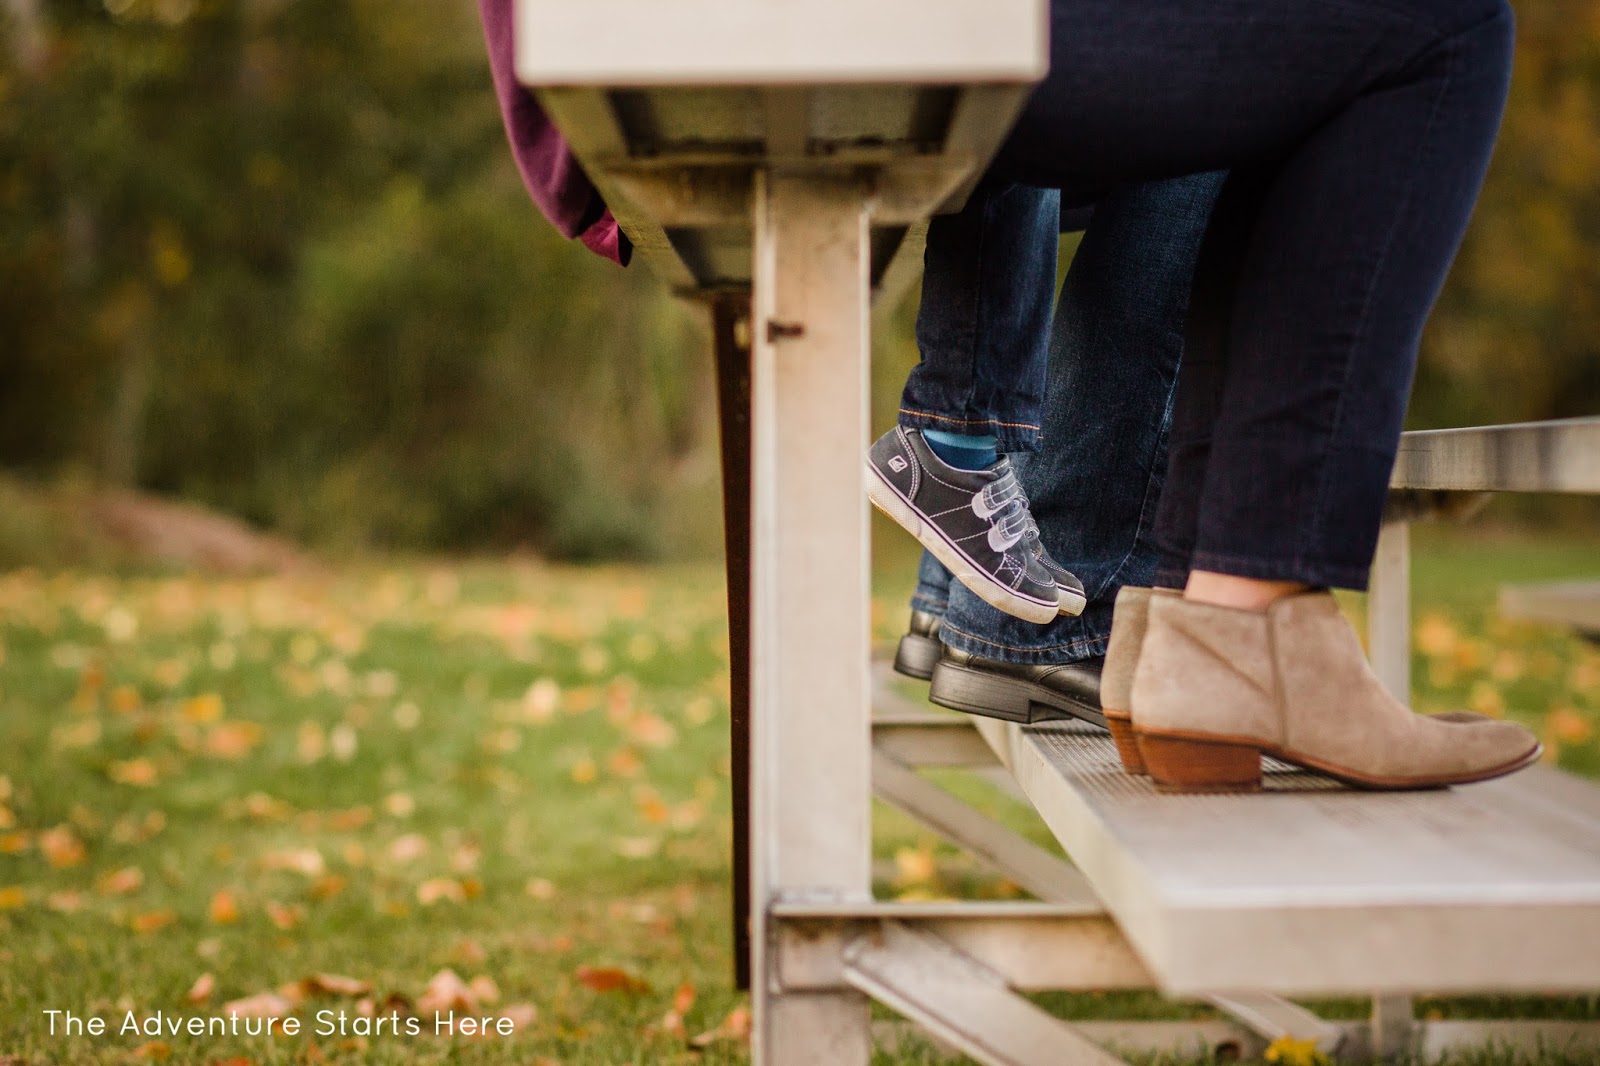
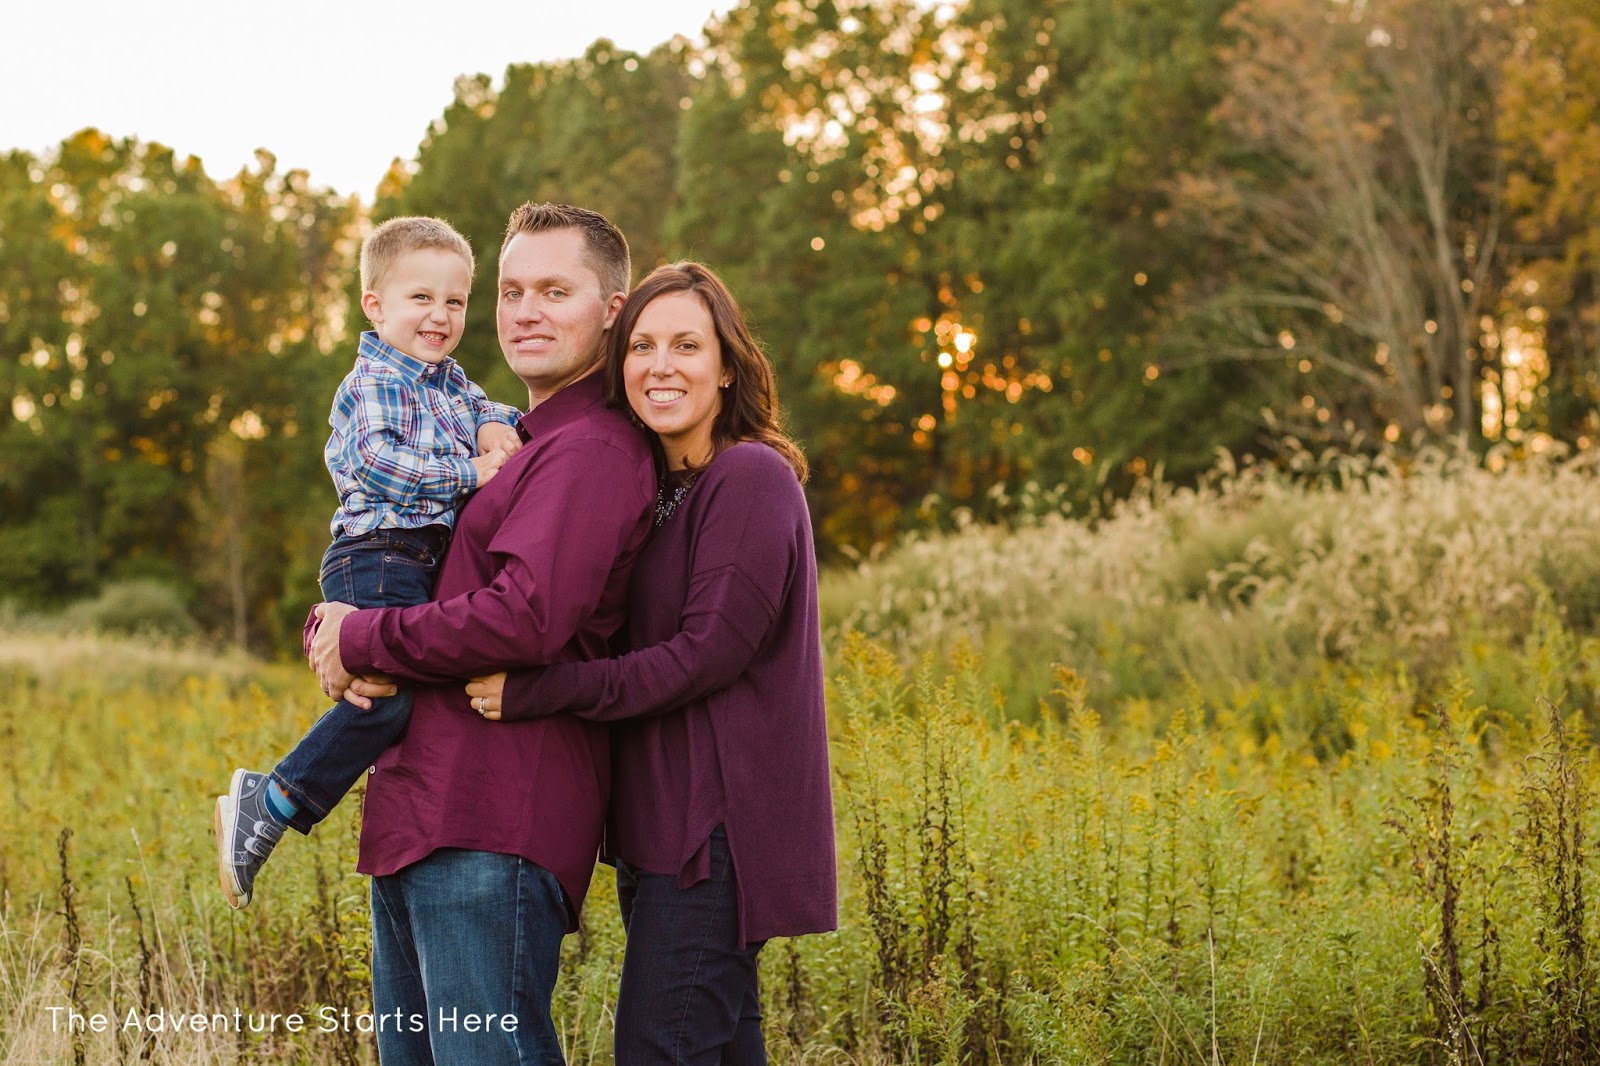
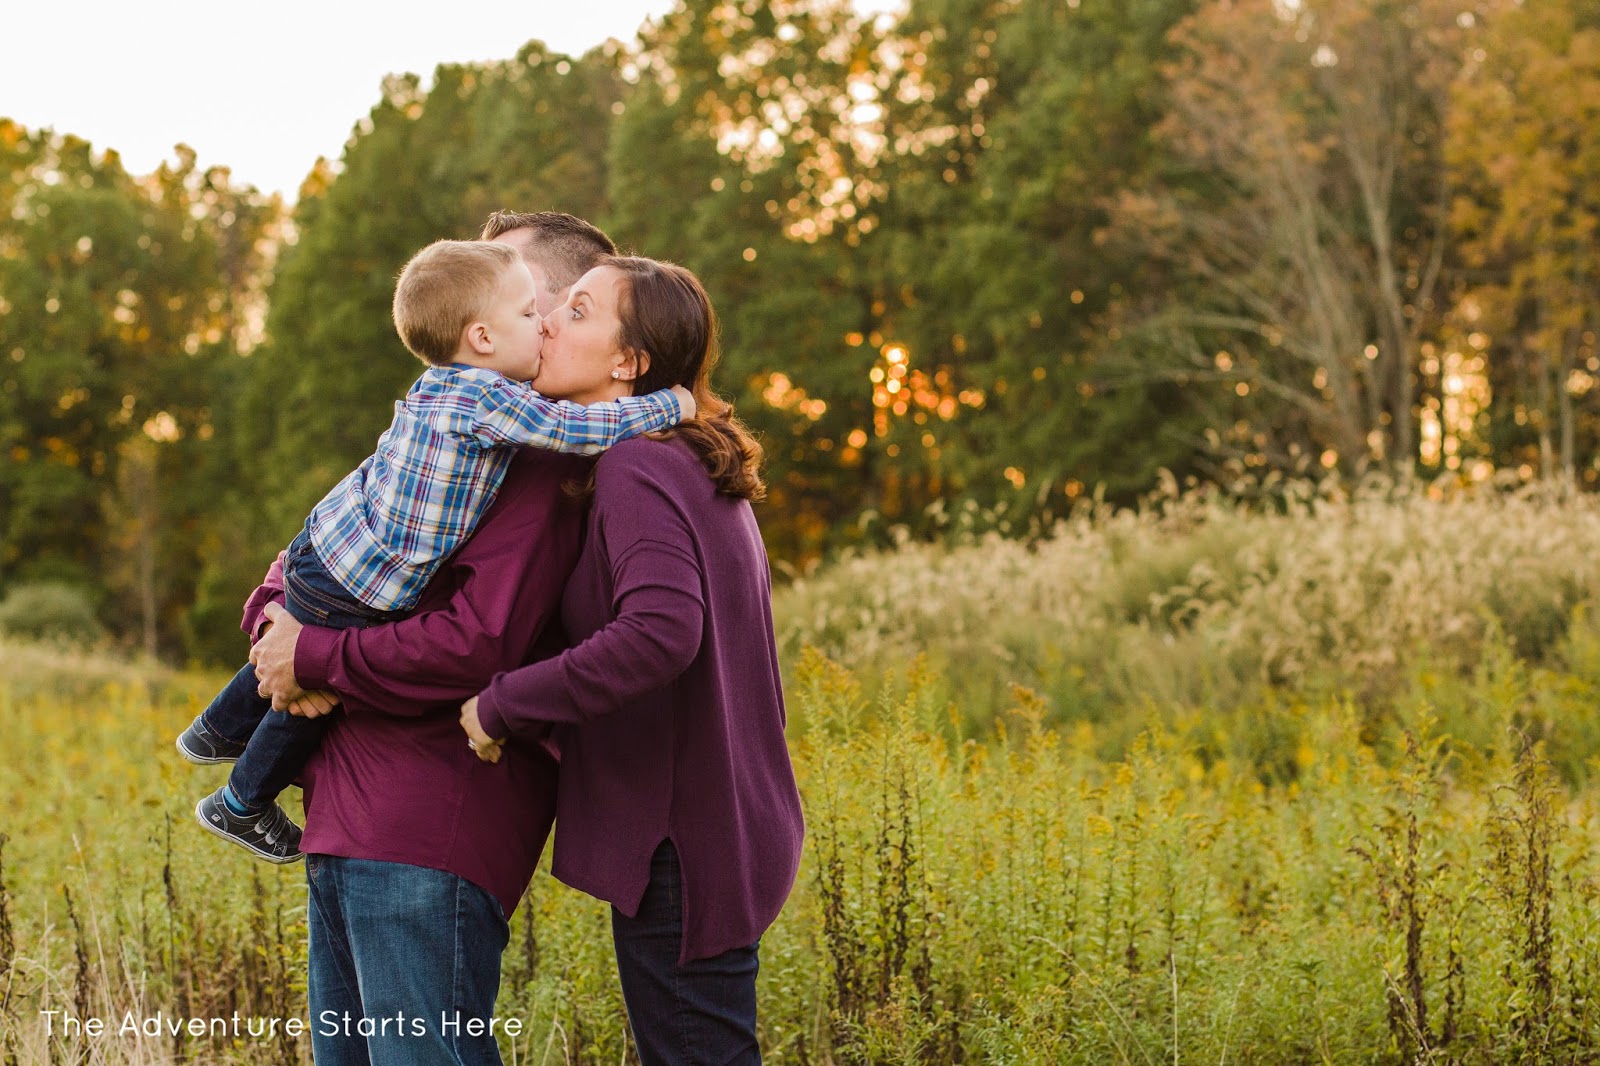
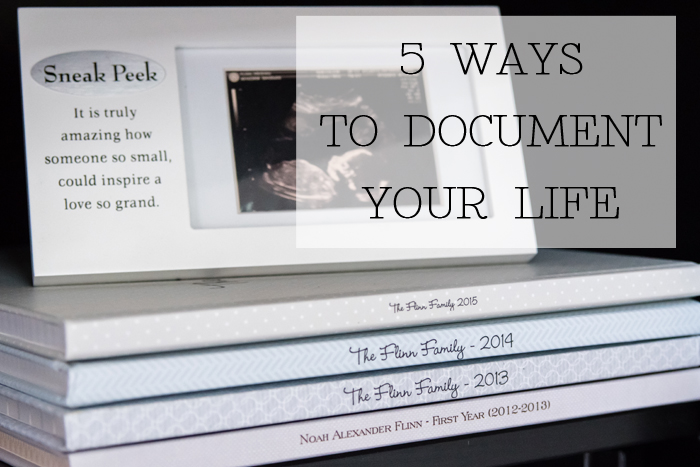
I am a firm believer in capturing the moment and documenting life.  I know many will argue that we should live life rather than photograph life, but I honestly think that despite capturing the moment on camera, I'm still enjoying the moment as well.  And the older Noah gets, and the more I photograph, I realize that I love the candid shots more than the posed ones.  So while I am often behind the camera, I let Noah do his thing and I'm there to capture it, as uninterrupted as I can.  The reason I do this is because I really do think he will enjoy looking back on all these moments one day. I know that I love looking back at photos from my childhood.  So while it can be time consuming, I believe it's worth it.  In addition to this blog, here are 5 ways that I document our life.  


One - A Yearly Photo Album

I take a lot of photos.  And while I share a lot of them on the blog, I also want to make sure they are printed so they don't just sit on my computer.  In addition to printing photos to hang in frames all around the house, I also make a photo album every year.  I personally love and use Becky Higgins Project Life products.  I love how she has simplified the scrapbooking process and made it very user friendly.  They offer physical products, digital products, and even have an app.  And this is by no means sponsored, I'm just a big fan!

If you are interested in my method, read on, otherwise, feel free to skip to my next method of documenting.

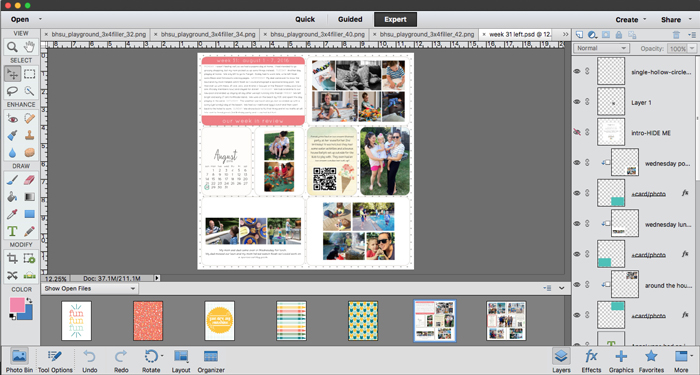
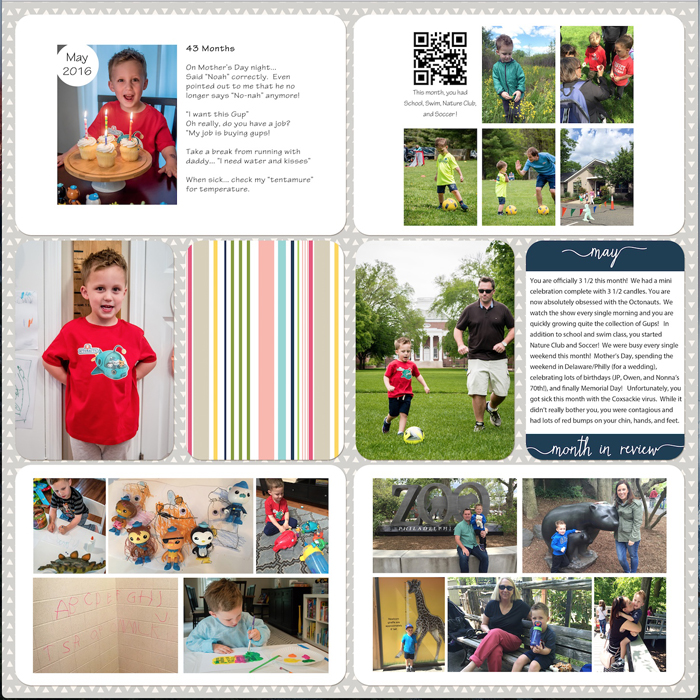
I use Photoshop to make all my pages.  I have purchased the Project Life page templates as well as many other kits along the way.  I watched a few tutorials on how to make the pages, and I was ready to go!  I personally like to document on a weekly basis and dedicate a 2 page spread for each week of the year, but the options are endless depending on how many photos you take and how detailed you want to be.  I then usually add an extra 2 page spread for big vacations, Noah's birthday, and Christmas (when there are even more photos taken).  Obviously, I can't include every photo each week, but after paring them down and using collages, I'm usually able to include all my favorites and show a true representation of our week.  I even turn videos from the week into QR codes.  While the technology will probably change, right now it gives us the opportunity to scan the code while flipping through the book and watch videos in addition to looking at the photos.  And while photos are great, I also make sure to add journaling and a little recap of what we did each day.  I then upload the pages to Shutterfly and order a book every January when they are offering a discount code.  Noah loves flipping through the books and talking about what we did.


Two - An Album for Noah

I use the same process as I explained above, but I make a book that is specifically for Noah.  Instead of making 2 page spreads for each week, I do them for each month.  And these pages are dedicated to all things Noah.  As a baby, I focused on milestones, and now I like including the funny things Noah says.  Many of these photos were also used in our family book, so putting these pages are pretty easy. The reason I make this book in addition the family album, is that one day, when Noah is all grown up, I plan to give him all these books to take with him.  So far I've made and printed a book of Noah's 1st year.  Currently, I'm making a book that will cover 13 months through his 4th birthday (which will be here before I know it!).


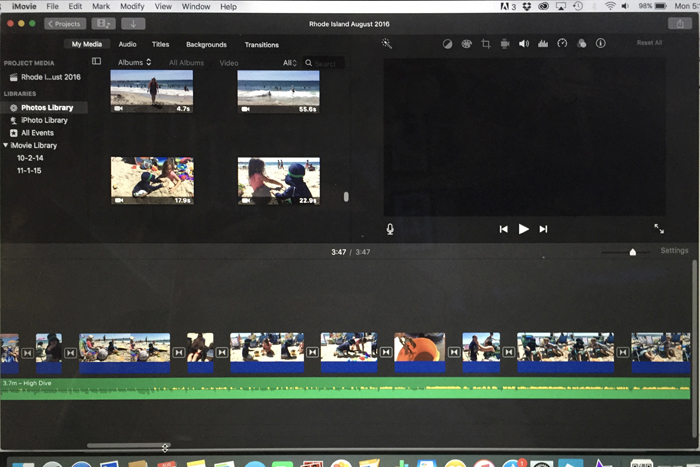
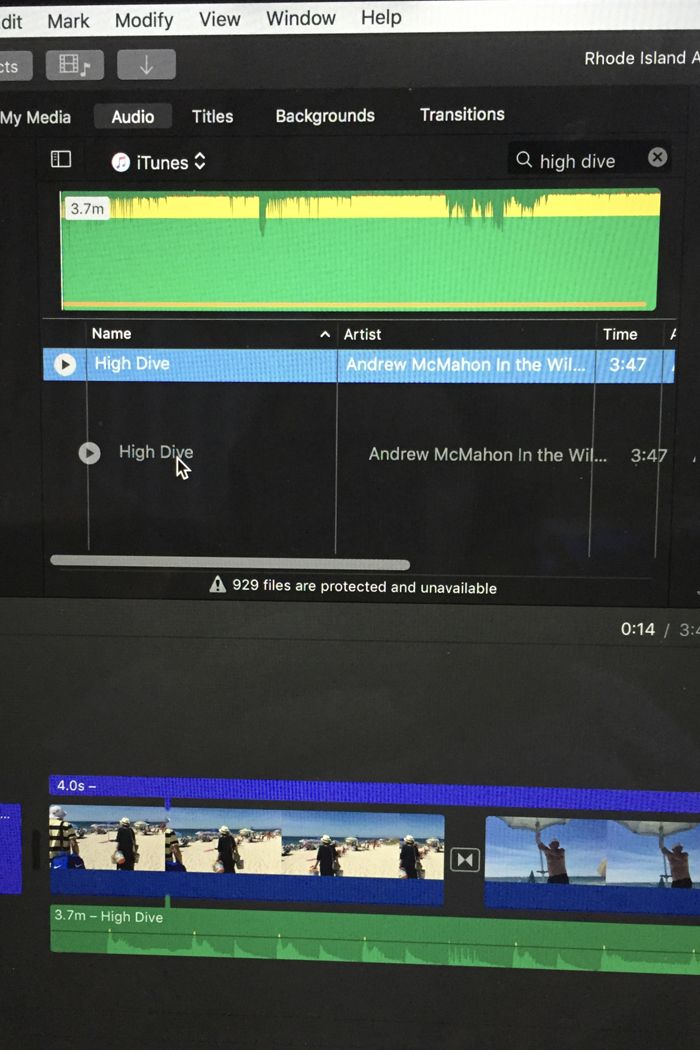
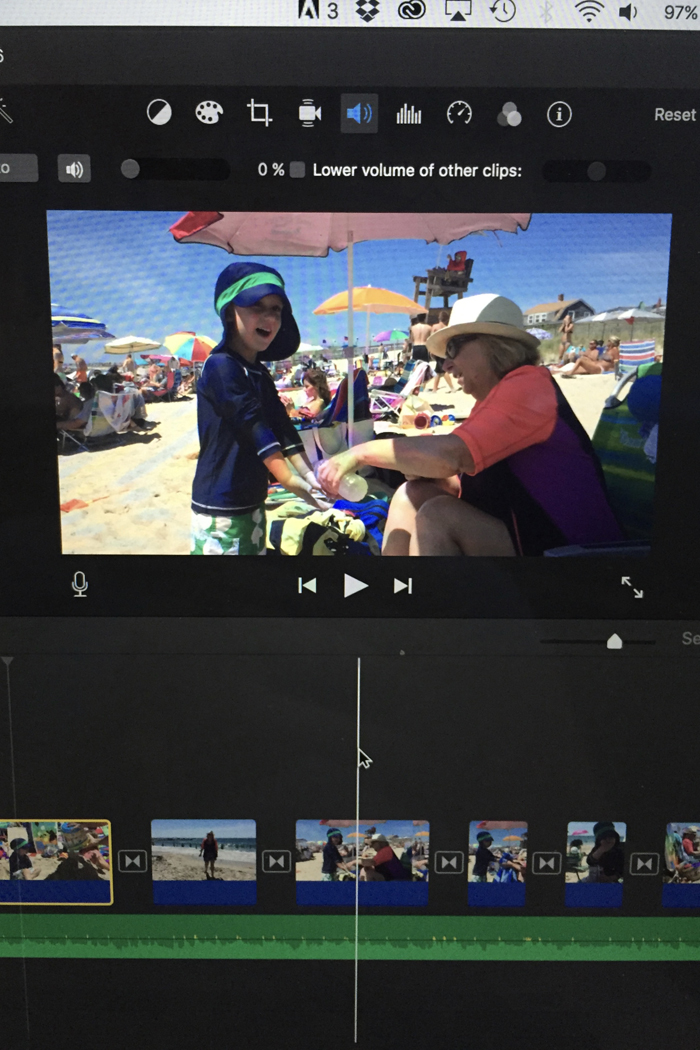
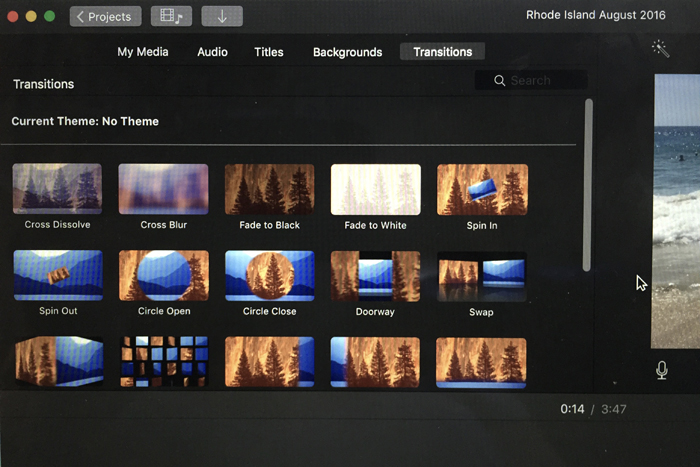
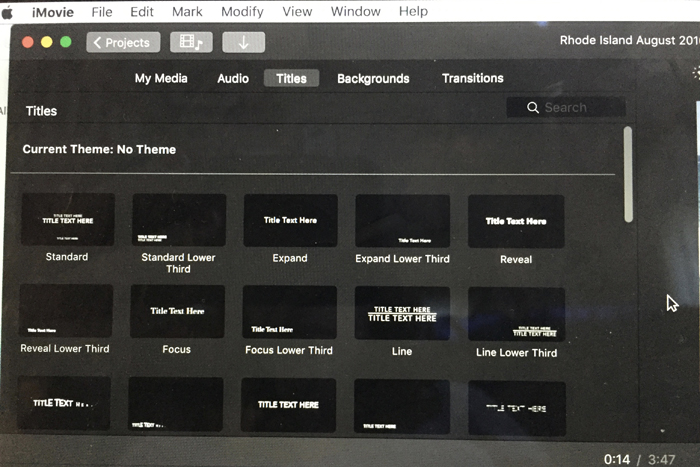
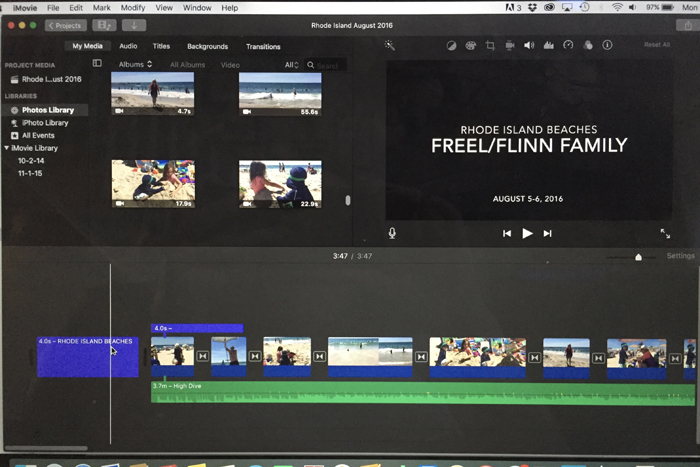
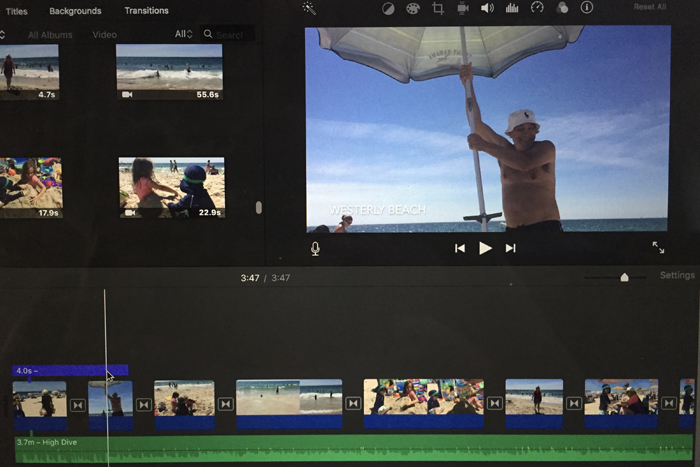
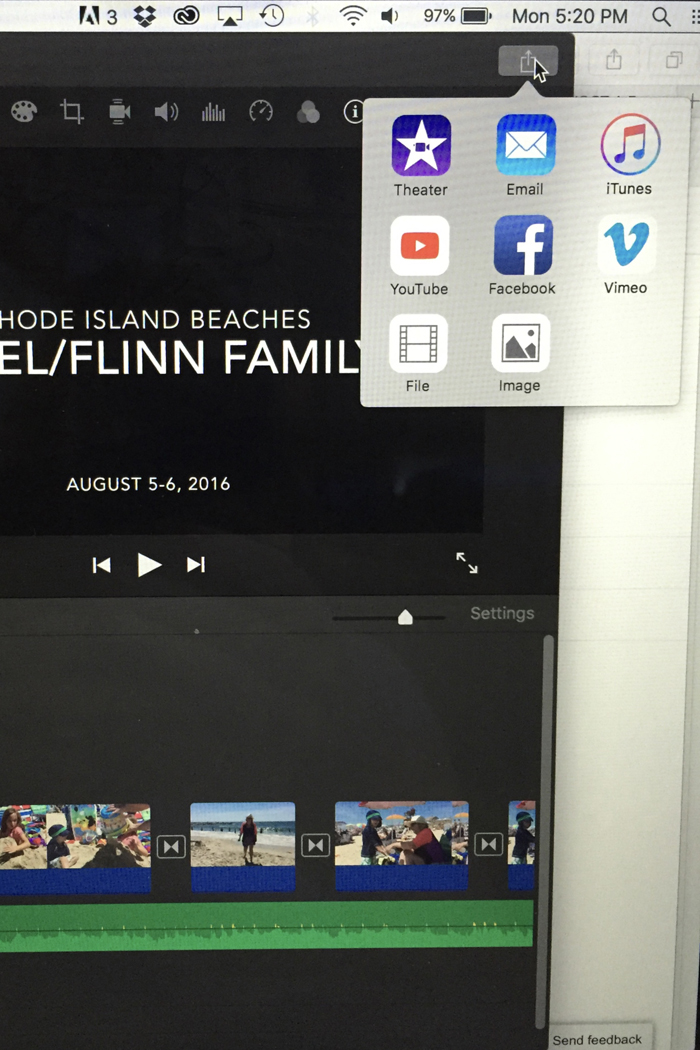
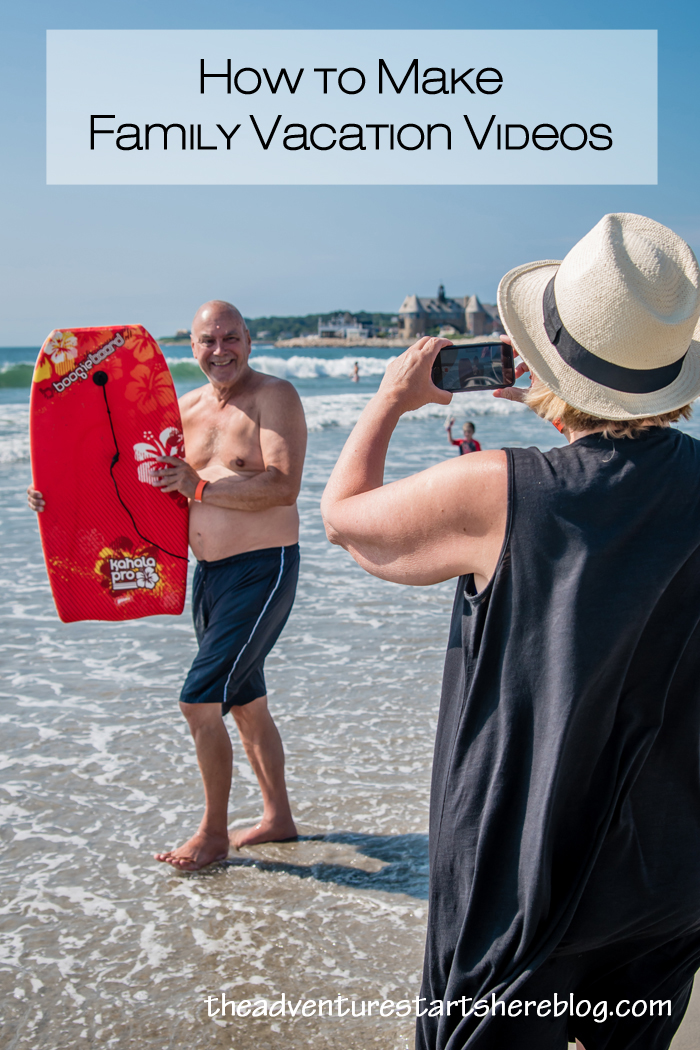
Three - Family videos

Back in July, I shared some tips on how to make family videos.  I love making family videos and while I love our family vacations videos, my favorite one is the birthday video/movie I make for Noah every year.  I make it with a mix of photos and videos to show what each year was all about.  We watch it when we get together for Noah's family birthday celebration.
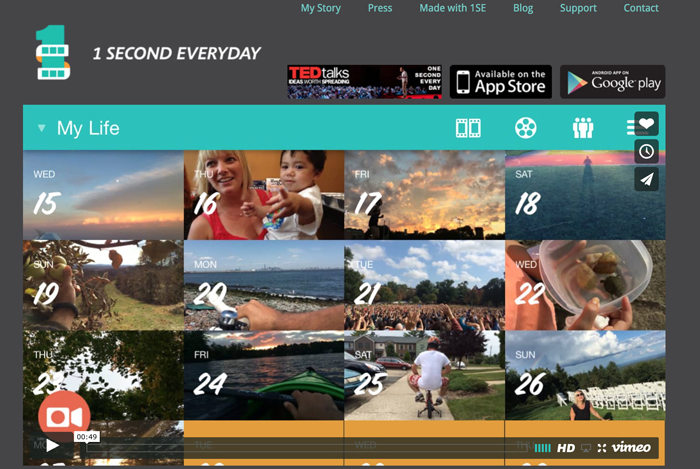
Four - 1SE

If our family videos weren't enough, I'm also having so much fun making this 1 Second Everyday for the first time this year!   The premise behind it is to make a video by compiling 1 second videos from each and every day.  I made the goal at the beginning of the year to take at least one video each day, even if it's of something mundane.  And while I have missed a few days, I'm very pleased with my progress so far.  Every couple of weeks, I add my videos and save the project as I go.  Even though it isn't finished yet, I love watching our year in 1 second clips.
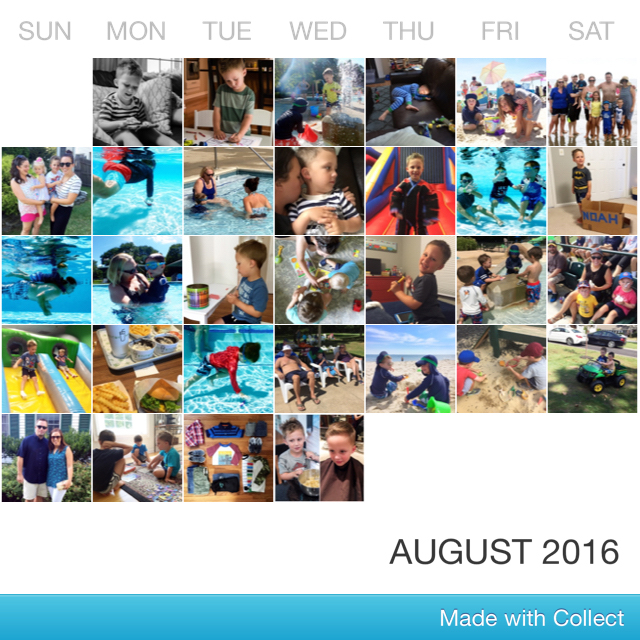

Five - Collect App

And if everything else seems like too much work, then the Collect app is for you!  Simply add a photo for each day and you get a fun collage at the end of each month.  It is very user friendly with close to immediate gratification.


So yes, I do a lot, but I really enjoy it and love the end product!  

Now tell me, how do you document your life?

*affiliate links may be used

Beth at Our Pretty Little Girls | Pinterest | Facebook | Instagram
Liz at Chasin’ Mason | Pinterest | Facebook | Instagram
Jessica at Sweet Little Ones | Pinterest | Facebook | Instagram
Ruthie at Rear. Release. Regroup. | Pinterest | Facebook | Instagram
Stephanie at Wife Mommy Me | Pinterest | Facebook | Instagram
Justine at Full Hands, Full Heart
Sarah at Abiding In Grace | Pinterest | Facebook | Instagram
Becky at BYBMG | Pinterest | Facebook | Instagram
Laura at Life Is Beautiful | Pinterest | Facebook | Instagram
Christina at Waltzing In Beauty | Pinterest | Instagram
Meghan at The Adventure Starts Here | Pinterest | Facebook | Instagram
Tina at Go Big or Go Home | Pinterest | Facebook | Instagram
Whitney at Polka Dotty Place | Pinterest | Facebook | Instagram


Wednesday, August 17, 2016

How to Make Family Vacation Videos

I really enjoy making family vacation videos.  While I am a huge fan of photos (and take way too many), I especially love making and watching videos from our adventures.  My love of making (and watching) these videos is kind of funny since I opted against having a videographer at our wedding because I didn't think we'd ever go back watch it... what did I know!?!  I started making vacation videos back in 2011 after my younger brother made an amazing video of his trip to Iceland (more of his videos here).  I asked him what program he used and the rest is history.  Here's my most recent video... of our family beach vacation in Rhode Island.  


Along the way, I've taught myself, asked some questions, and come up with a few tips that might be helpful if you are looking to make your own family vacation videos. 

1. Take videos of everything.  Start from the very beginning of your trip and record short clips of every part of you trip.  You'd rather have too much footage and decide not to use it in your final product than feel like you don't have to enough to truly represent your vacation.  I figure, if I take a photo of it, I also take a 2-3 second video of it.  This works especially well for including the stationary details, like food!  

2.  Use multiple devices.  Since you will want to record a lot, my suggestion is to have multiple devices handy.  I personally use my iPhone, my Nikon AW130 for underwater video, and ask family members to use their iPhones too.  I know many people use their DSLR for video, but I personally have not spent the time to feel 100% comfortable with it just yet.   A GoPro would be great to use as well! 

3.  Get in front of the camera sometimes.  I know from experience that it's easy to become the documenter and not be in any photos or videos.  We now make a conscious effort to take turns with who is in front and behind the camera.  This past trip, my mom was a huge help and took videos with my phone while I took photos with my DSLR.  When I wasn't taking photos, I would take some quick videos (so she could be in them as well) and even handed it to Chris at times.  

^^^ my mom on video, me on camera :)

4.  Take video first.  If you don't have multiple people available, so that you can shoot video and photos at the same time, I suggest shooting video first.  If you want your videos to show true emotion, you will want to video your kids' reactions first off and then take your photos. It's much easier to stage a photo than a video.  For example, in this video, I recorded Noah and his cousin Aidan, having fun with the beach chairs.  I recorded them putting the chairs up and down a few times, smiling and laughing at each other and even sticking their tongues out.  After I captured the moment on video, I switched to taking photos.  I don't think I would have gotten the same excitement out of them if I waited til the end to take the video.  

^^^ we handed the phone off to Chris and he took photos and video of us playing catch

5.  Don't worry about random conversations or background noise.  I don't know about you, but people tend to get shy and stop talking when they know you are recording them because they are worried about sounding silly.  This can make for a very awkward video.  This was actually one of the main reasons I didn't want a videographer.  Too many times I was caught on camera having an awkward conversation when getting ready as a bridesmaid ;)  Recording on a phone helps with this because people aren't sure if you are taking a photo or a video.  I've also put my family at ease by saying that unless someone is saying something really cute or something related to the vacation, all their talking will be covered by a song.  And on this particular trip, the wind at the beach was pretty loud.  I was so relieved to be able to cover that all up!    

Now that you have all your footage, how do you actually make the video???  These next steps are how I personally make my videos, but there are probably many other ways you can do it.  I have a Mac and use iMovie, so if you only use a PC, this won't be of much help.  And for any iMovie users out there, if you have any tips for me, I'd love to hear them... I'm always learning!    

1.  Upload all your photos onto your computer in Photos.  When I get home from a trip, I upload all my videos (from all my devices) into Photos.  I then open up iMovie and all my videos are right there.  You may have to search in the "My Media" section depending on how your organize things in Photos (albums, collections, moments, etc).  

2.  Create a new project and start dragging your video clips down.   My personal method is to pull down the clips in their entirety and then edit them in the "zoomed in" view.  For vacation videos, I prefer the end result to be 1-2 songs long, so I make sure to clip my videos down so that everything fits.  This usually takes going through it many, many times... this is the most time consuming part.  And while you may think you need longer video clips, you can often use just a few seconds of each activity to get your point across. 

^^^ you can find all your videos in the Media section above.  Then just drag them down to the bottom section to start making your video.  

3.  Add music.  While I would love to give you some amazing advice on how to pick your songs, I really don't have a quick fix.  Throughout the year, as I hear songs on the radio or on TV and movies, I will make a note of the song so I have a running list when it comes time to make videos.  My videos are all very family oriented, so the vibe of my songs are all very similar.  

As for the technical side, you can access all your iTunes music in iMovie.  You can just type the name of the song or artist you are looking for in your library and then drag your song down into your project on the bottom.  


Depending how you want your final video to be, you can either lower the audio of your videos and just have the song playing, or you can lower the volume of the song so that you can hear the sound from your video.  If you don't alter either, you will have competing audio.  You can change these settings on every clip you add to your project, or select all and change the settings once.  Once your music is added, you will probably want to go back and edit your clips some more so that your video is the correct length.  Also, some of your clips might work better with a certain part of a song, so you can fool around with that now too.  

^^^ to adjust the audio of each clip, click on the speaker icon (in blue).  To have the video's audio lowered, lower the circle so it says 0% (like I have above).  If you want the song's audio lowered so you can hear the video's sound, select "lower volume of other clips".  

The next thing I want to learn how to do, is to add a song where it's just the music and not the lyrics.  There are a few songs I would love to use in future videos, but parts of the song's lyrics just don't work with the theme of my videos.  So if you know how to do this, please let me know!

4.  Add transitions and text.  To make the transition from each clip look a little smoother, it's nice to add a transition.  There are a lot of options, but I always use Cross Dissolve... but that's just a personal preference.  


I also like the add Titles to the beginning and end of my videos.  I will occasionally add a title in the middle of my videos (like I did this time) if we are going to multiple destinations on a vacation.  


5.  Save and share your video.  Once you are totally happy with your finished product, it's time to save and share it.  First, I save it as a "file" so that I can back it up on my hard drive and dropbox as well as add it to YouTube.  Since these video files are pretty large, I find it's best to load to YouTube (I save them as unlisted) and then send the link to family and friends.  This is also how I share my videos on the blog.  Back in the day when I had a DVD drive in my laptop, I would burn a copy to a DVD for anyone that wanted it, but that's a little old school these days.  I also save a copy to my iTunes so that I can easily watch it on any of my Apple devices, like my iPhone and my Apple TV.  When I make Noah's annual birthday video, we play it for our families on our big TV using Airplay from my iPhone to Apple TV.  


Wanna pin it?


And in case you are interested, here are some more of my past family vacation videos...

And some super long birthday videos!
So tell me, do you take videos on your family vacations, or do you just stick to the photos?

*affiliate links used

Thursday, August 11, 2016

Noah in August | Picture Perfect Project

One of my goals for 2016, was to take a photo of Noah each month. While I take lots of iPhone photos, I wanted to take the time to use my DSLR and get at least one photo of him each month that shows his personality, his interests, and reflects the current season. I hope that at the end of the year I will have an amazing collection of photos that represents our year. So when I saw Stephanie post about The Picture Perfect Project I knew I wanted to participate! But this month, I thought I'd mix it up a bit and share some photos I've recently taken with my waterproof camera!


When I got my underwater camera (Nikon AW130) a few months ago, I knew I'd really enjoy using it, but I didn't expect Noah to get into it too!  This is the first summer that Noah's been interested in going under the water.  He gets more confident and better at swimming with every trip to the pool.  It started with me just asking him to go under the water and I'd take his photo.  As he started swimming more, I started taking photos and videos of him in action.  And now that he's diving for toys in the super shallow area (2 1/2 feet deep), we are having even more fun!  He's even at the point now where he asks me to bring my camera and get photos and videos of him jumping in and swimming to the wall.  The photographer in me is giddy whenever he requests a photo!  


I'm also a fan of using this camera around the pool but above the water.  It gives me the piece of mind that I won't ruin my phone and let's me take fun photos near water fountains or with Noah splashing me (like the first photo).

rash guard | goggles

As much as I love photographing Noah under water, I was really looking forward to testing it out with my niece.  She's 8 and absolutely loves to swim!  She definitely didn't let me down... she came up with the coolest poses all on her own and was even smiling under water!


The photos I took of her made me realize I desperately need to work on my facial expressions under water...


All the photos I took of my niece (and nephew) were at the indoor pool at the hotel we were staying at in Rhode Island last weekend.  It was definitely a different experience since I wasn't getting the natural sunlight that I normally get when I photograph Noah at our outdoor pool.  Not only was I not getting natural light pouring in, but the first time we went swimming was at night.  Instead of fighting it, I decided to embrace the dark and edit the photos to be a little moodier.  This first photo almost looks like she's swimming in ocean.


While these have nothing to do with our underwater adventures, I still wanted to share a few more Noah-isms this month!  

Somehow, we got on the conversation of marriage.  I told him that when he grows up, he can get married.  I told him... "you will meet someone you love and want to be with them all the time".
Noah: "Grandma!"

When we wake up in the morning and he asks to go downstairs, I ask him to give me a hug first.
Noah: "How many?"
Me: 10 million
Noah: "How about 1?"

We were at the pool and he was playing with some of his pool toys, trying to collect fish in the net...
Noah: "those tricky fishes"

Noah has always called me "mama".  But recently he's started calling me "mommy" every once in a while.

One day, he got a little boo boo.  I told him to go to the freezer and get an ice pack (since they cure all in under a minute).
Noah: "When people are hurt, the other people get the ice pack"
This has now evolved to "when people are cold, the other people get the blanket"

When daddy said something was really heavy... "You do have muscles.  Your muscles are your elbows."

Noah calls hershey kisses "swedish kisses"... he really likes those swedish fish!

Noah calls tomorrow, "the next day".  He was telling me a story about something that happened a few days ago.  He said, "Last time, not the next day.  It's backward days".

Noah: "Mommy, grandma, and me are the bosses.  And daddy and papa are not the bosses"
How observant ;)

Noah: "I make the rules and you make the pretend rules"


*affiliate links used

Thursday, May 12, 2016

My Photography Process | Noah in May - The Picture Perfect Project

One of my goals for 2016, was to take a photo of Noah each month.  While I take lots of iPhone photos, I wanted to take the time to use my DSLR and get at least one photo of him each month that shows his personality, his interests, and reflects the current season.  I hope that at the end of the year I will have an amazing collection of photos that represents our year.   So when I saw Stephanie post about The Picture Perfect Project I knew I wanted to participate! So far this year, I've also used this link up as sort of a monthly update of what Noah's up to by sharing some current Noah-isms.  And while I still plan to do that in the future, I figured I would switch it up this month.  Especially since I just shared a 3 1/2 year update last week ;)

So this month, I'm still sharing some photos that I took of Noah, but I'm adding all the technical information as well.  I know that when I first started shooting in manual that I was interested in the settings other photographers used.  I also want to share with you my photography process, from the camera I use, to some tips while shooting, to how I edit the photos and prepare for the blog.  

28mm | ISO 250 | f/5 | 1/125

My equipment:
Let's start with the basics.  I shoot with a Nikon D5500.  I know that many people swear by Canon, but I learned on a Nikon and figure there's no point relearning with a Canon since I'm really happy with my Nikon.  As for lenses, I feel that kit lenses just aren't gonna give you the photos that you imagined when buying a DSLR.  My suggestion is to buy the "body only" and then get one or two prime lenses.  We have three lenses, two that I use all the time and love.

1.  Tamron 28-75mm f/2.8.  (for Canon)  This is the lens that is on my camera the majority of the time.  I love the zoom capability and the fact that it's a prime lens (meaning you can get that beautiful blurry background no matter how zoomed in you are).  I went with the Tamron instead of the Nikon because zoom prime lenses can be super pricey (for example)!   While my Nikon 35mm is a little better in low lighting, the convenience of the zoom is just paramount for me.  I can take this with me for the day and know that it will suit 99% of my needs.   

2.  Nikon 35mm f/1.8G.  (Canon equivalent)  I love this lens... it was the first lens I got other than the kit lens my camera came with.  I know everyone raves about the nifty fifty, but I'm loyal to my 35mm.  I shoot with a crop sensor so in reality it's like shooting with a 50mm on a full sensor camera.  But not only that, it helps when I'm shooting indoors since our rooms are not especially large.  I often feel like I can't get back far enough to shoot with anything larger than 35mm!  I especially love this in the winter when shooting indoors and need the bigger aperture for low lighting.  

3.  Nikon 55-300mm f/4.5-5.6G. I also have a larger zoom lens that we honestly only use when going to outdoor sporting events.  It's not a prime lens so I don't love it indoors and we really only need the extra zoom when sitting in the stands.  When we were getting our first DSLR, Chris was very excited to get a telephoto lens.  Then we found out how pricey they were and we settled on this lens.  Chris has used this lens more than I have.  

Accessories:
Filter - simply to protect my lens from the elements.  This is the one I have on my Tamron lens, but make sure to check your specific lens so that you buy the correct size.  I have a different filter for my 35mm lens.  
Bag - I have two bags from JoTotes.  I love that they look like regular leather bags but have nice padded sections on the inside for your camera and a few lenses.  
Camera strap - I chose to upgrade my camera strap to a pretty one I found on Etsy.  While I didn't plan this, it's kind of cool that the other side is brown, so when Chris is using it he just flips it over so he's not carrying around a "girly" camera strap.  I've had this strap for 3 years and it's holding up great!  RhyahPapaya has so many cute options!
Remote - This is an absolute life saver if you want to take outfit photos or family pictures and not have to run back and forth constantly! I personally set my camera to the 2s delay, which means I hit the button on the remote and in 2 seconds the photo is taken.  It gives me time to hide the remote or even throw it out of the frame.  Noah loves being in charge of the remote when doing family photos lol!  
Tripod - I inherited a Bogen tripod from my parents and I'm so glad I did.  I had no clue that it was so expensive to buy a sturdy tripod!  I use it almost every holiday for family photos as well as for my outfit posts.  The tripod with the remote has really come in handy!

35mm | ISO 100 | f/4 | 1/125

How I shoot:
I shoot in manual and in the last year started to shoot in RAW.  I took a few online classes with Candice Stringham (through Jessica Sprague) to learn how to shoot in manual, but it doesn't look like they offer the same class anymore.  As for shooting in RAW, it will only really be a benefit if you plan to do some post editing.  The reason I love shooting in RAW is that if you mess up the exposure or have tricky lighting, you have more control fixing it when editing than if you shot in JPEG.

Other than learning all the buttons and settings to your camera, my suggestion is to just keep practicing.  Take photos from different angles and just photograph everything.  It will take time to develop your style (I feel like I'm still developing mine) and time to get the hang of it all.  Especially when taking photos of children, you could take 100 photos and only end up with a few keepers.  I also highly recommend using the rapid fire option on your camera (whether on your DSLR or camera phone!) when photographing kids!  And if you are still developing your own photography style, it helps to look for inspiration from other photographers.  Spend some time looking on Pinterest and Instagram and decide what it is you like about certain photos.  It's not a good idea to directly copy, but it can't hurt to decide if you like light and bright photos or ones with more shadows and mood to them.  If you like more posed shots or something more candid.  You can also get some inspiration for new poses and angles.  Since you aren't paying for film these days, there's no harm in overshooting!  

How I edit:
So once you've taken all your photos, it's time to edit your photos.  For a while I was just using iPhoto to edit my photos.  Not sure how, but you can load RAW images into iPhoto/Photos.  I'm assuming they are converting the image because while you can do some simple edits in the program, you don't necessarily have to.  I'm assuming they are converting the photo for you, because technically RAW photos need to be processed before they are usable.  I wasn't really happy with my editing after iPhoto changed to Photos, so I decided to make the jump to Lightroom.  I started using Adobe Lightroom at the beginning of this year (2016) and I'm such a huge fan.  I watched a few YouTube videos to get the hang of it, but it really is pretty easy.  I don't do anything crazy or fancy though, I know there's so much more I could do if I took the time to learn!  I watched Anthony Morganti's Learn Lightroom 6 series of videos to learn some basic skills (Here's the link to the first video).  I fix the exposure if necessary and set the white balance.  Then I adjust the highlights, shadows, whites, and blacks.  I also increase the clarity, add some sharpness and noise reduction and add a tone curve.  I also like the look  of a subtle vignette.  These are all things I learned by watching the YouTube videos.

Once I have edited my photos, I save them into Photos so that they sync easily onto my phone.  I also back them up to my hard drive and Dropbox (you can never be too safe!).  For the photos that I post to the blog, I then resize them in Photoshop Elements.  I looked up the dimensions of my blog and figured that resizing my photos to 700 pixels wide works best.  This way I can upload the photos at "original size" rather than letting blogger resize my photos for me and losing some of the quality.  

62mm | ISO 100 | f/3.5 | 1/250 

This next photo is a perfect example why editing your photos is an amazing step!  Noah was inside the play structure climbing the ladder, and it was so much darker than where we just were.  In a perfect world I could have played around with my settings and metered for this new darker spot.  But as we all know, kids move fast and don't want to wait for you to fiddle with settings.  So instead, I did the best I could, and then adjusted the exposure, shadows, and highlights when editing in Lightroom.  Without editing this photo would have been useless!    

28mm | ISO 100 | f/3.5 | 1/250 

In addition to photographing Noah, I also have fun taking photos of the flowers, trees, and bushes around our house.  I love seeing everything in different stages of blooming.  From my peony that is just starting to bud, all the way to this super vibrant pink bush!  I really enjoyed experimenting with angles and focal points.  If you want to start shooting with a higher aperture/f stop (lower number, more blur), I suggest practicing on things that don't move.  Plants are perfect for this because you can really play around with it by moving your focal point to different flowers and seeing which part(s) will come out in focus versus blurry.  

36mm | ISO 100 | f/4 | 1/200
75mm | ISO 100 | f/3.5 | 1/250
75mm | ISO 100 | f/2.8 | 1/100
52mm | ISO 100 | f/2.8 | 1/100

I am by no means an expert at photography... far from it actually!  I feel like I'm constantly learning new things and just getting by through trial and error.  But if you have any questions, please feel free to ask me.  I'd also love to hear tips that you guys have learned while on your photography journey! 


*affiliate links used

Friday, December 25, 2015

Christmas Card and Family Photos

Merry Christmas!  While we are having a wonderful time celebrating with our families in the real world, I figured why not finally share our Christmas card and some family photos in blog land.  So without further ado, here is our 2015 Christmas card.  Originally I planned to go with one photo with a message overlayed.  But when I saw this card with the bokeh lights, I was immediately sold :)  And while I've shared a few photos of Noah and myself from our photo shoot, here are some of my favorite family shots.  I am so incredibly happy with what my dear friend Kristen, from Kristen Boylan Photography, was able to capture of my little family!


I hope you have a wonderful Christmas!  I'll be back on Monday with all the holiday details :)
 
Blogging tips