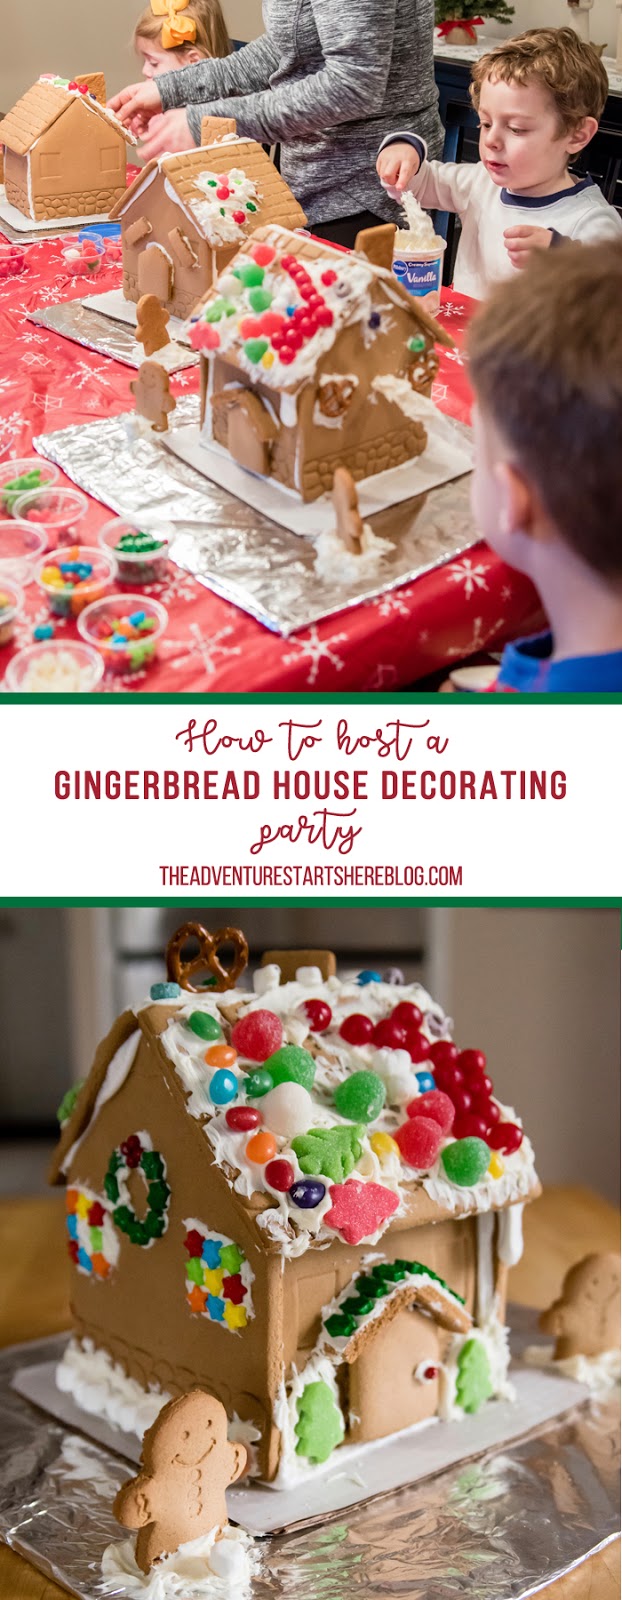
Decorating a gingerbread house. I think most people have this activity on their "Christmas bucket list" of fun things to do with their kids. While the whole process can easily turn chaotic and messy, I have a few tips on how to make it a fun and enjoyable experience!
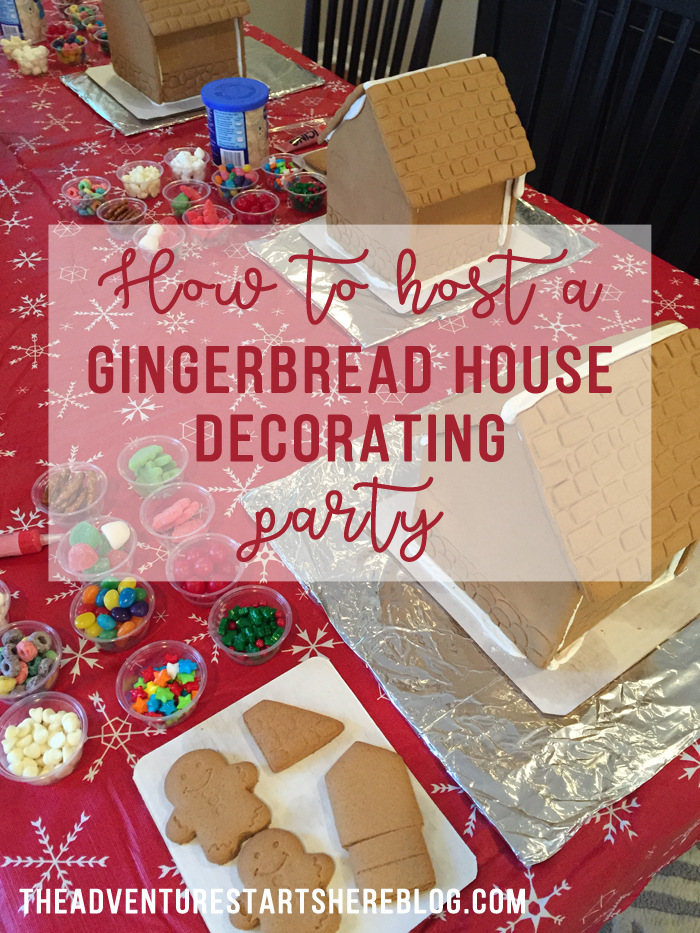
5 Tips for Hosting a Gingerbread House Decorating Party
1. Buy the pre-built gingerbread house kits!
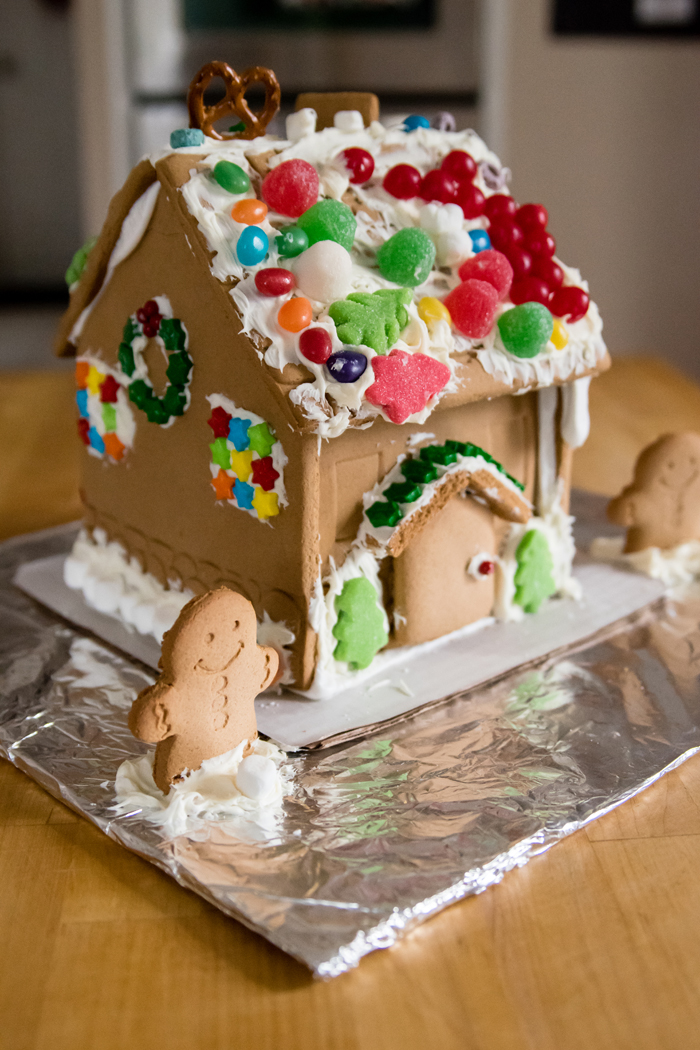
I grew up where you had no choice, you had to build your own gingerbread house. And what I remember is that it was constantly collapsing. So instead of spending our time being creative and decorating the thing, we were focused on rebuilding it time after time. I honestly think I'd skip the whole gingerbread house tradition if we had to build it from scratch. So imagine my surprise and excitement when I saw that they now sell pre-built kits. Last year was our first time doing it and we got ours from Costco. For under $10, I didn't have super high expectation, but was extremely impressed with what's included and the quality. The houses are well made and very sturdy. I love that in addition to the icing and candy decorations, that they come with a door, a chimney, and some little gingerbread men. And for those that need some decorating inspiration, they provide multiple examples right on the box. Trust me, save the aggravation and your sanity, and just buy the kit!
2. Set up is key
While the kit really does give you a lot, there are still a few extra supplies that will make your decorating even more successful.
First up, I knew that we were bound to get messy when kids and icing are involved. So I picked up this wipeable tablecloth at Target. I loved that it's sturdier than a regular throwaway plastic tablecloth but also easily wiped clean. I also appreciated that it's more winter themed so I can use it other times than just Christmas.
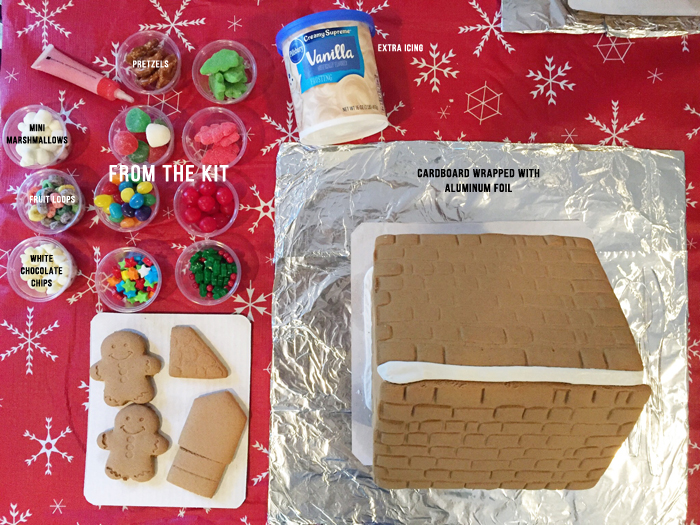
I also made sure to save a few pieces of cardboard from my many Amazon deliveries. While cake stands are super pretty, covering a piece of cardboard with aluminum foil works better on so many levels. First off, I don't have to worry about a young child breaking one of my cake stands. But on top of that, chances are most of the kids don't live at your house, and it's easier for them to take it home when it's all done.
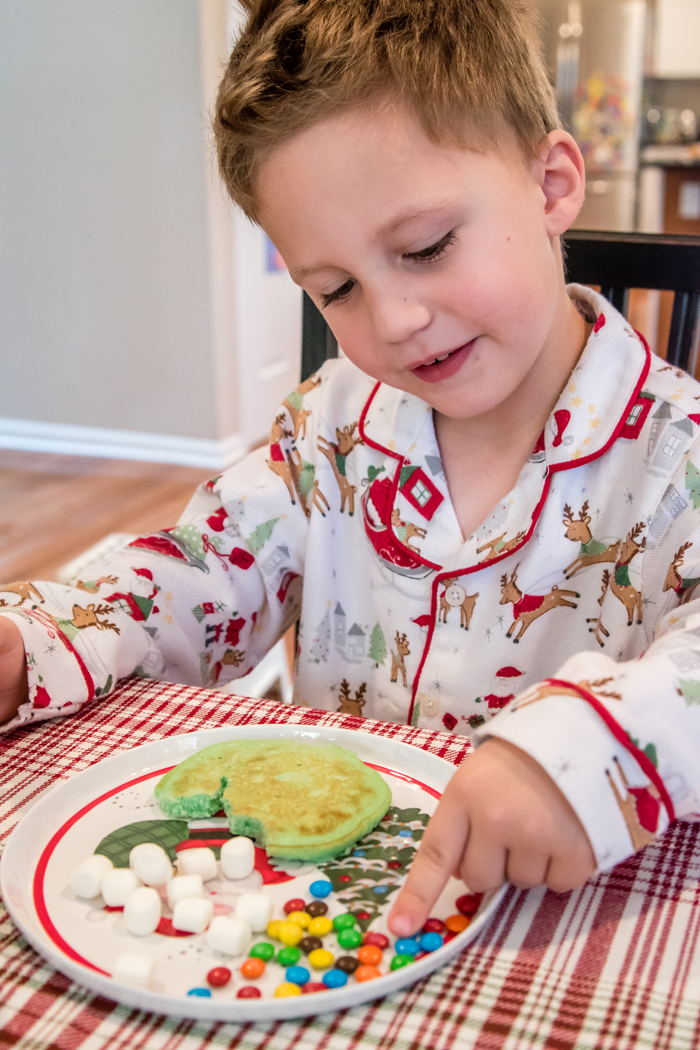
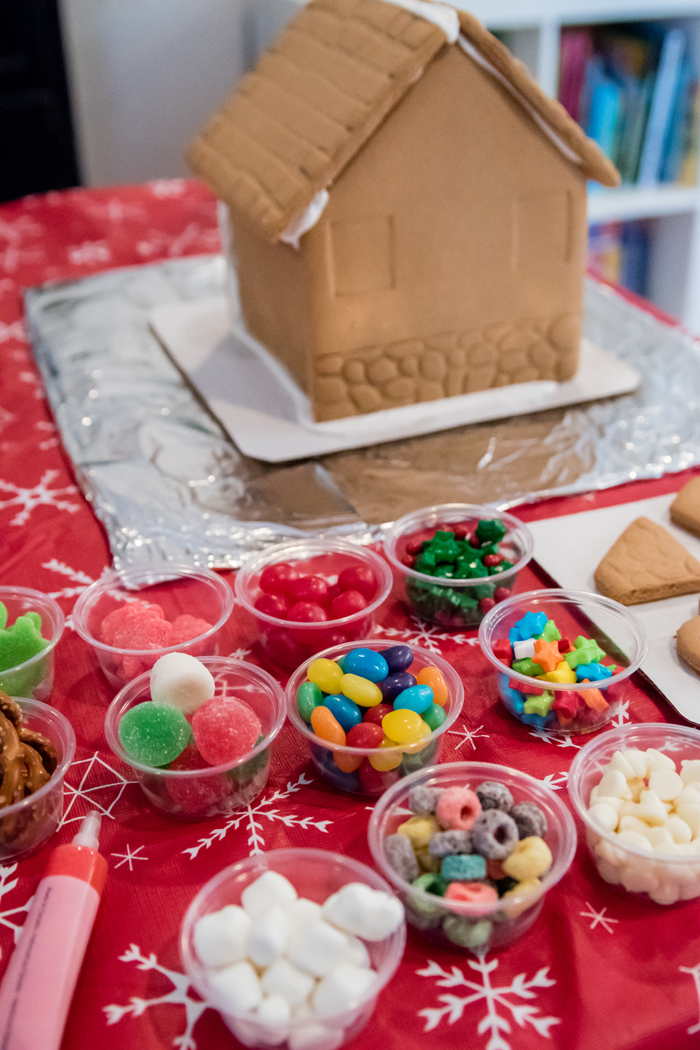
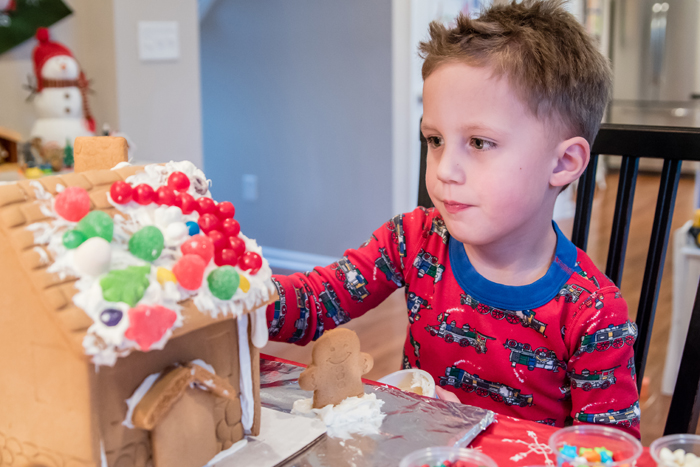
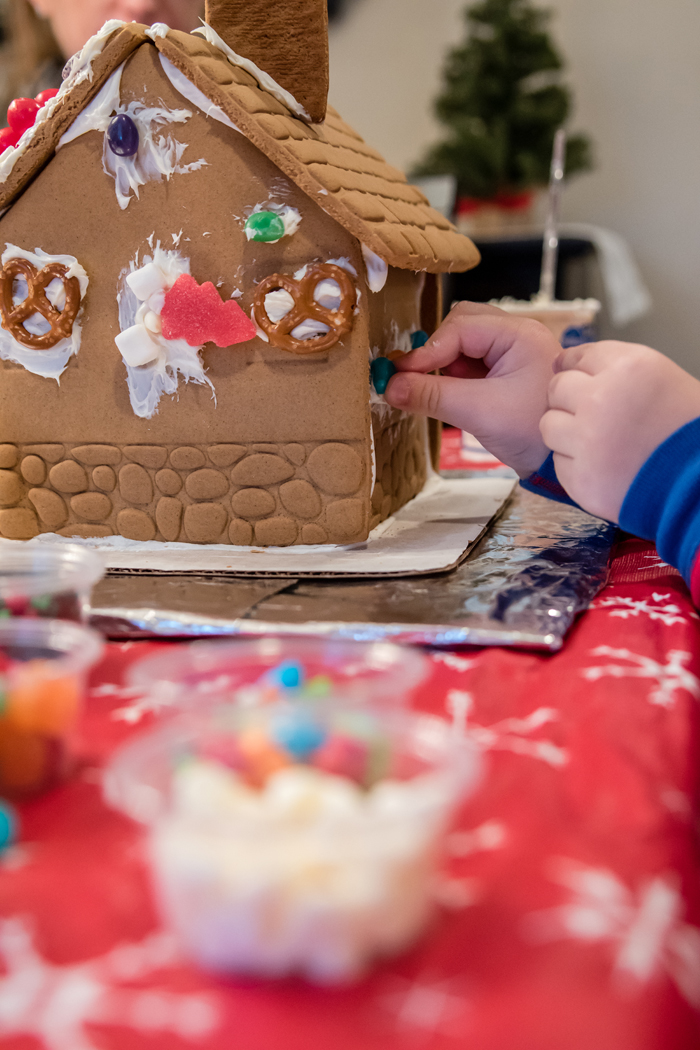
Last year, I wasn't expecting the candy included to be good, and ended up buying a ton of extra candy. I quickly learned that the candy in the kit is really good. This year, I stuck with their candy and instead just picked up some little condiment to go containers to neatly organize each kid's candy. While not at all necessary, Noah did decide he wanted to add a few extra decorations like mini marshmallow, pretzels, Fruit Loops, and white chocolate chips... all things I had on hand in my pantry.
While the candy is great, we weren't huge fans of the icing. They come in bags with some piping attachments. While in theory this sounds great, last year the kids had a hard time squeezing hard enough to get it out. So instead, I picked up a container of vanilla icing for each of the kids and gave them a plastic knife and spoon. I find that it's best to give each child their own personal supplies to minimize fighting.
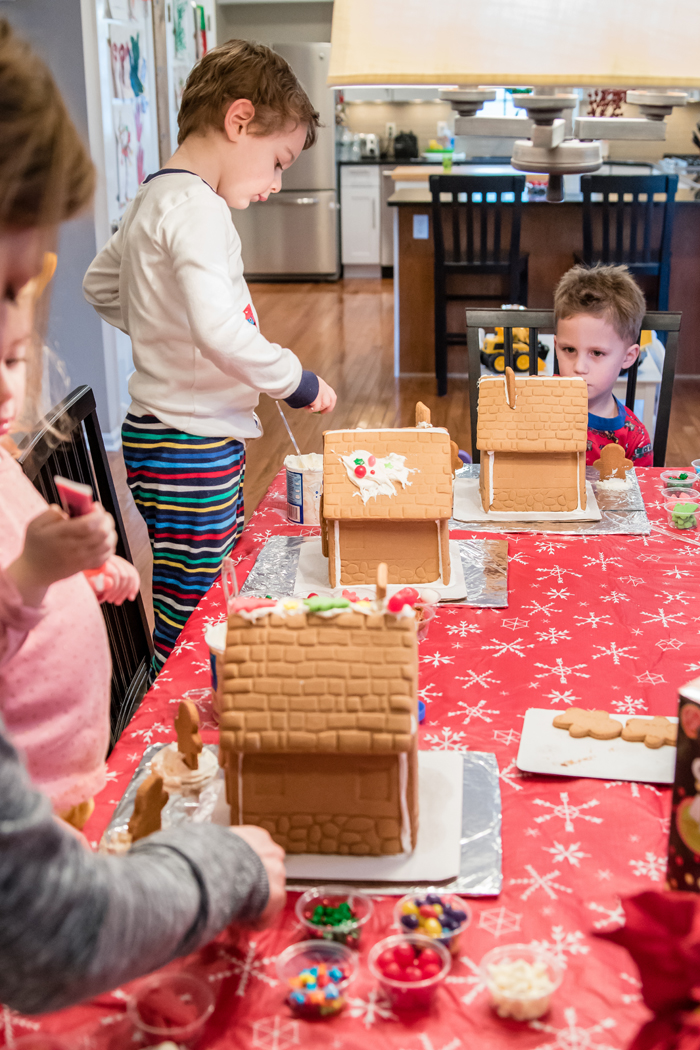
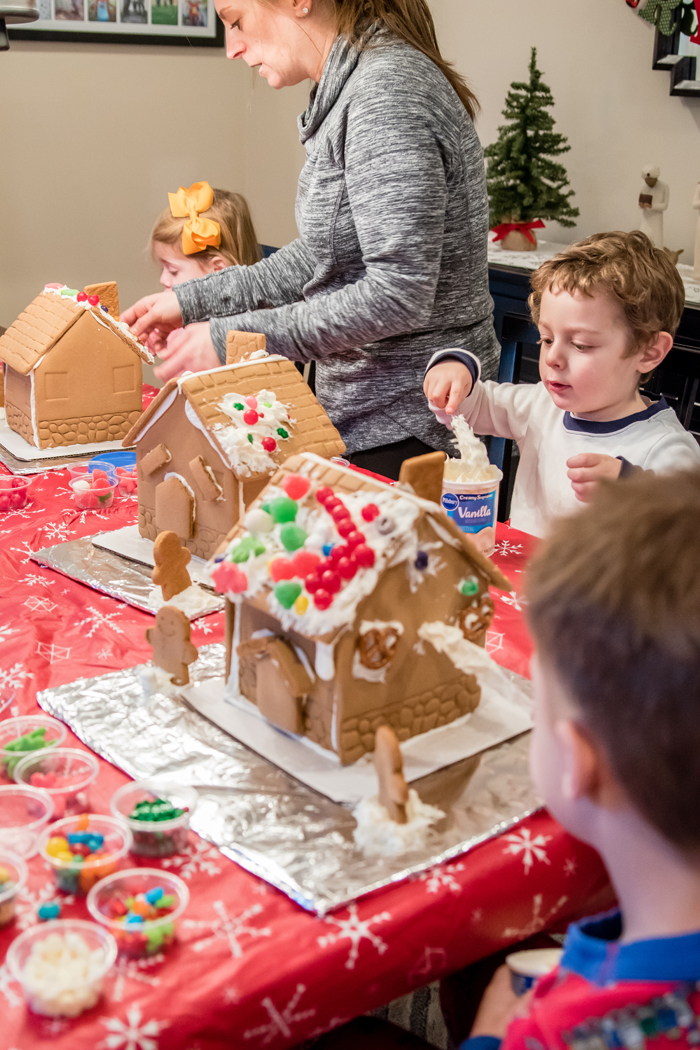
3. Keep your guest list small
This is a good rule of thumb whenever kids are involved, but especially when doing an activity that can easily get messy. For our "party", it was just Noah some of our family friends. While Noah and his friend were able to decorate their houses with very minimal help from us, our 2 1/2 year old friend needed more help from her mom. It's a good idea that you have enough adults to assist when necessary.
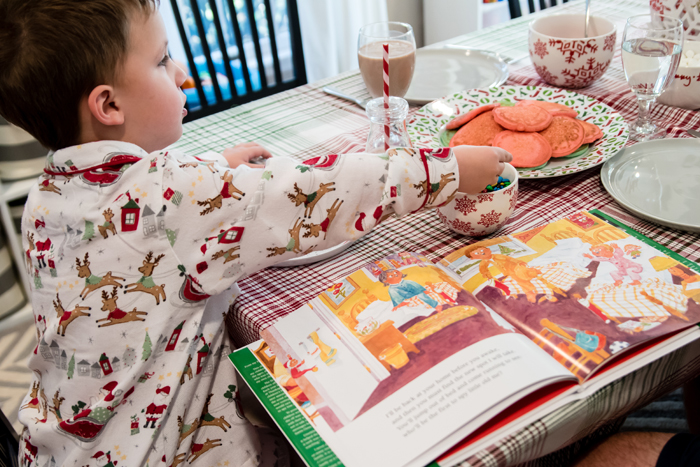
And while not a "tip" or even necessary, we thought it would be fun for the kids to come dressed in their pajamas. The kids were comfortable and they looked extra festive for all the photos I took.
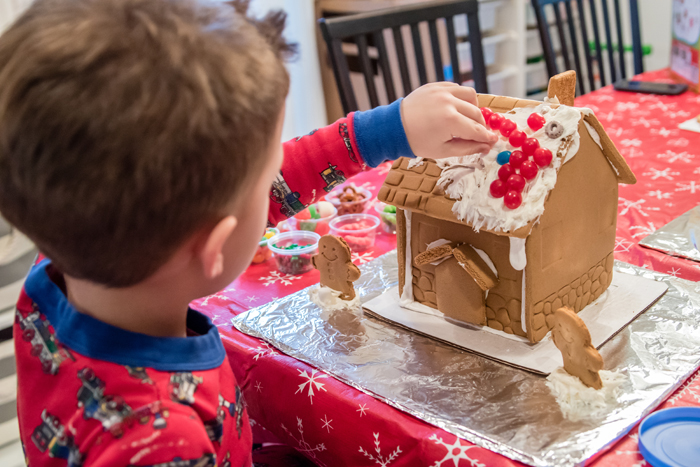

4. Let the kids be creative and have fun
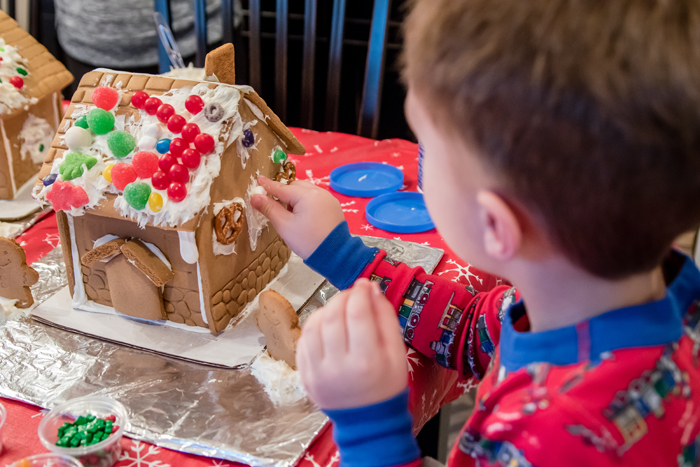
This probably won't apply to everyone, but for my type A personality readers, this might be difficult for you. Our kids are at the age where they might need some help executing things, but they really have no desire in you telling them how to do something. They have strong opinions on how they want their house decorated and it usually doesn't look anything like the pretty house you've seen on Pinterest or even the side of the box! Try your best to leave your OCD tendencies at the door and stay calm. Remember that you are doing this so your kids have fun and have a fond memory. So let them decorate the house however they want, even if it does look a little wacky! Chances are they will lose interest before it's fully decorated and you can jump in and finish it. And if that doesn't happen, maybe buy yourself an extra kit that you can decorate exactly how you want to. Gingerbread houses don't have to be just for the kids. They really are fun and can be quite therapeutic to decorate. And now that I think of it, this would also be a fun party to host with your girlfriends!

5. Don't forget about transporting
While Noah's gingerbread house was staying here, our two guests needed to bring theirs home. And the last thing you want is for the house to tip over in your trunk and get icing all over your car! Thankfully I had saved the boxes that the kits came in. We simply unglued one of the side seams, slid the decorated house back in the box, and then taped the side back up.
Is decorating a gingerbread house one of your Christmas traditions?
Pin for later??