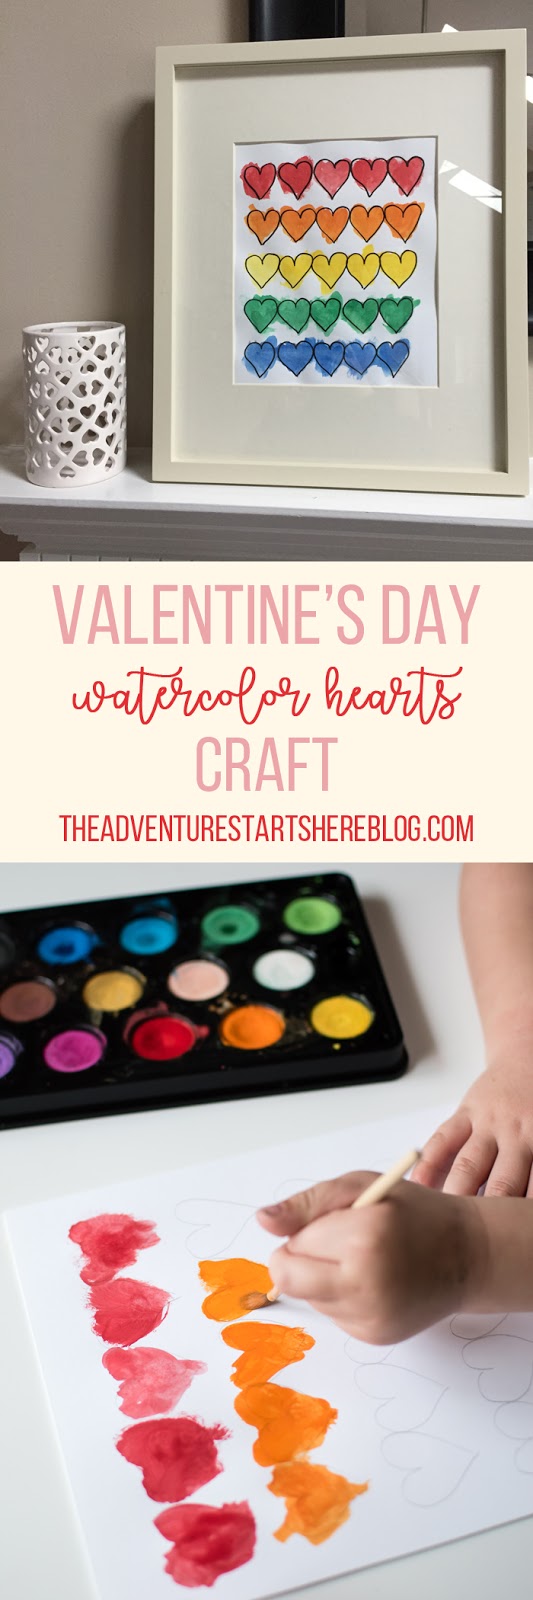
Noah's always been into rainbows. And who can blame him, rainbows are so pretty! While we've made our fair share of St. Patrick's Day and rainbow crafts (Fruit Loops Rainbow, Rainbow Pot of Gold, Rainbow Clouds), we couldn't resist making another one this year. Last week, we grabbed our scissors, glue, and sheets of card stock in all the colors of the rainbow and got to work!
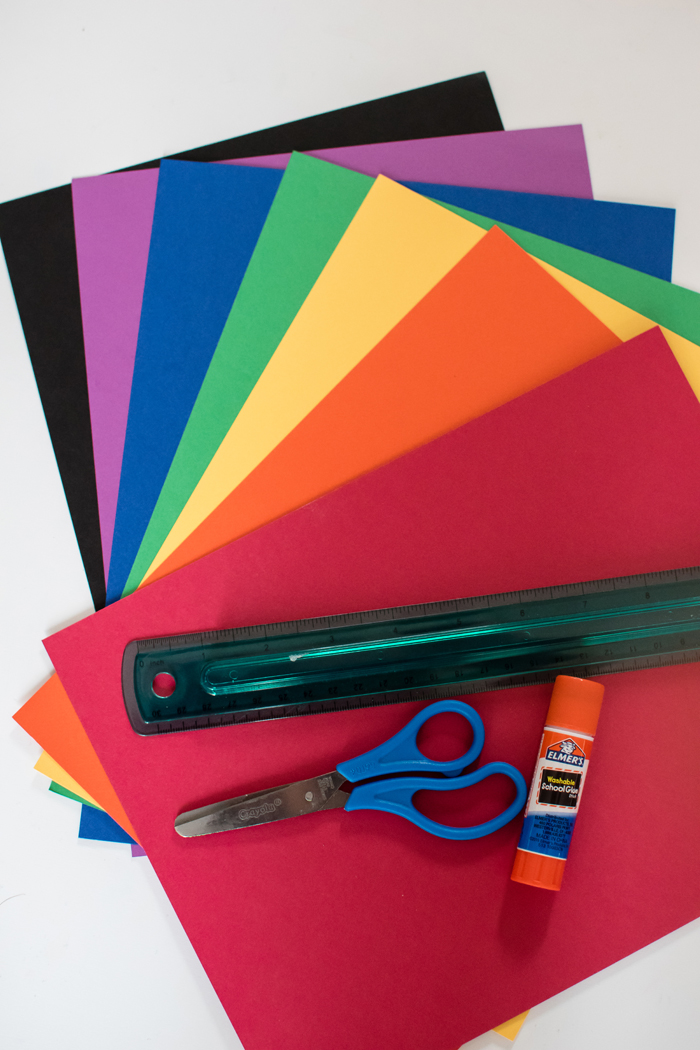
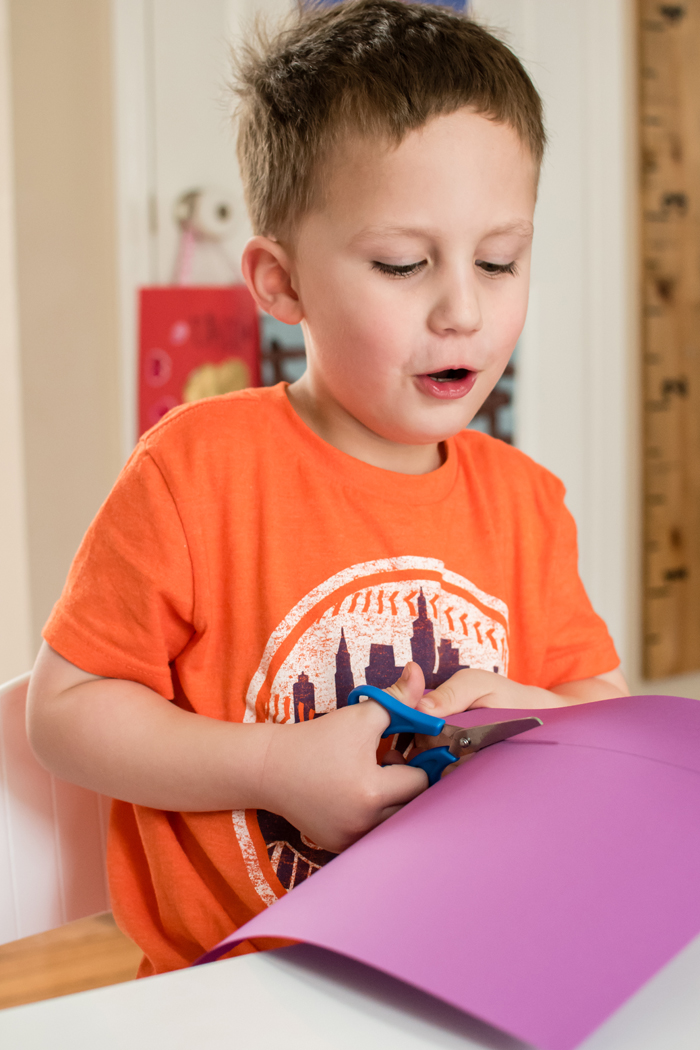
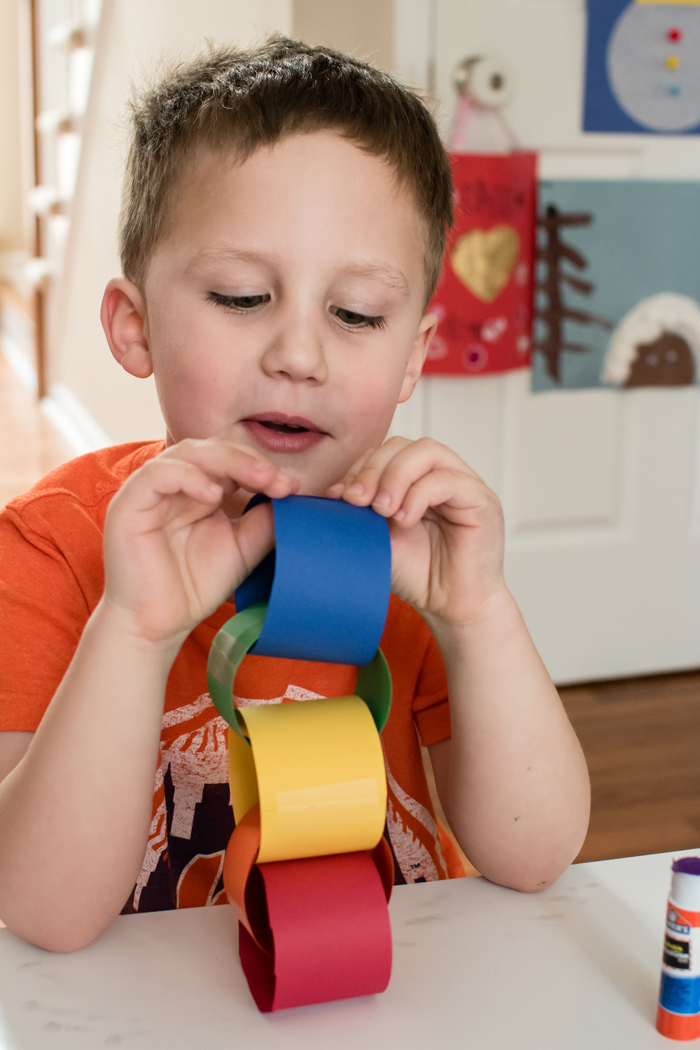
Back in December, my mom showed Noah how to make those paper chains and he absolutely loved it. I thought this would be the perfect opportunity to make another paper chain... this time as a rainbow of sorts. I measured out 2 inch strips onto each color paper and Noah did all the cutting. As long as Noah takes his time, his cutting skills are top notch. I then helped him glue each of the strips into rings, connecting them all in rainbow order. Noah is a pro with the rainbow colors (partly because of Mickey Mouse Club), but this would be a great activity to help your child learn the colors and the order. Then just to make sure they were secure, I also added a piece of scotch tape.

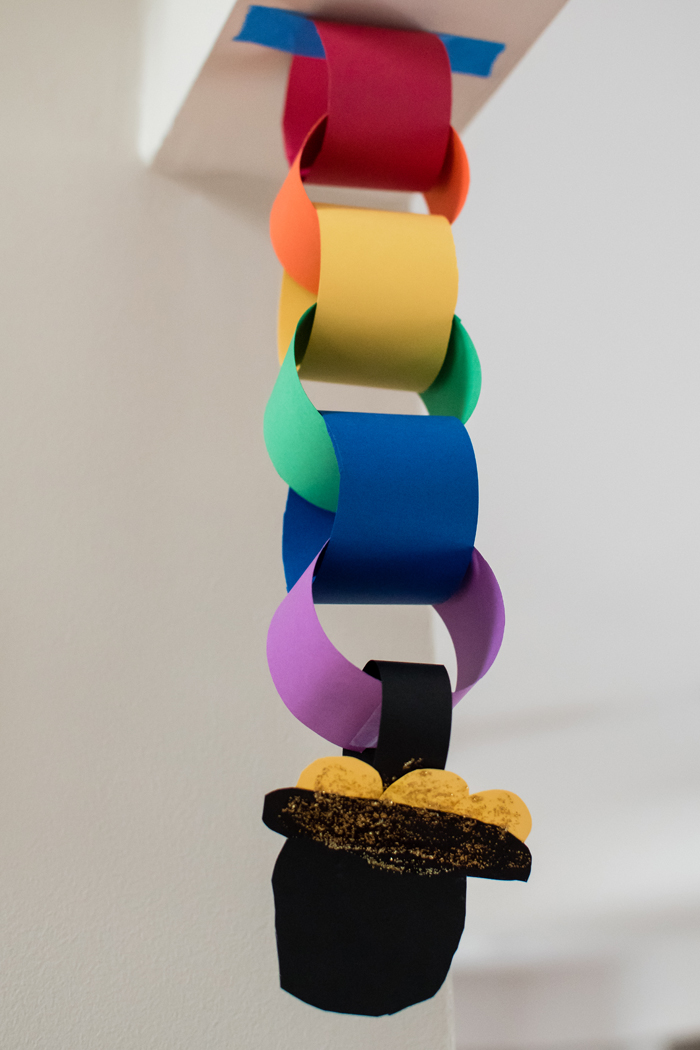
Finally, we added a little pot of gold to the end of our rainbow chain. I freehanded the pot and then used the cap from a bottle of water to trace the gold (yellow) coins. Noah glued the coins to the pot and then added some gold glitter glue for some extra sparkle. I cut out a short strip of black card stock in order to attach the pot of gold to the rainbow chain.
We debated quite a bit on where to hang this chain. I wanted to hang it in front of our kitchen window, but Noah was adamant that it's in a place that people had to walk through and see. Since I didn't want taller people running into it, we compromised and hung it in the doorway leading from our living room to the kitchen, but put it towards the side. I was getting a little frustrated at how particular and stubborn Noah was getting about this. My mom however was cracking up at the whole situation, saying that Noah is exactly how I was as a child (and even today) lol.
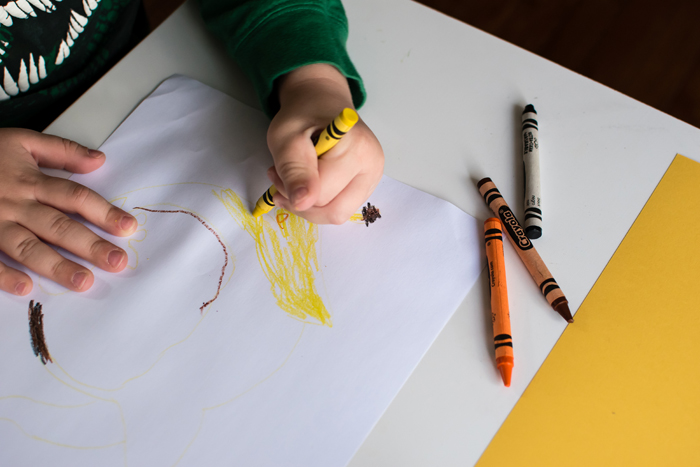
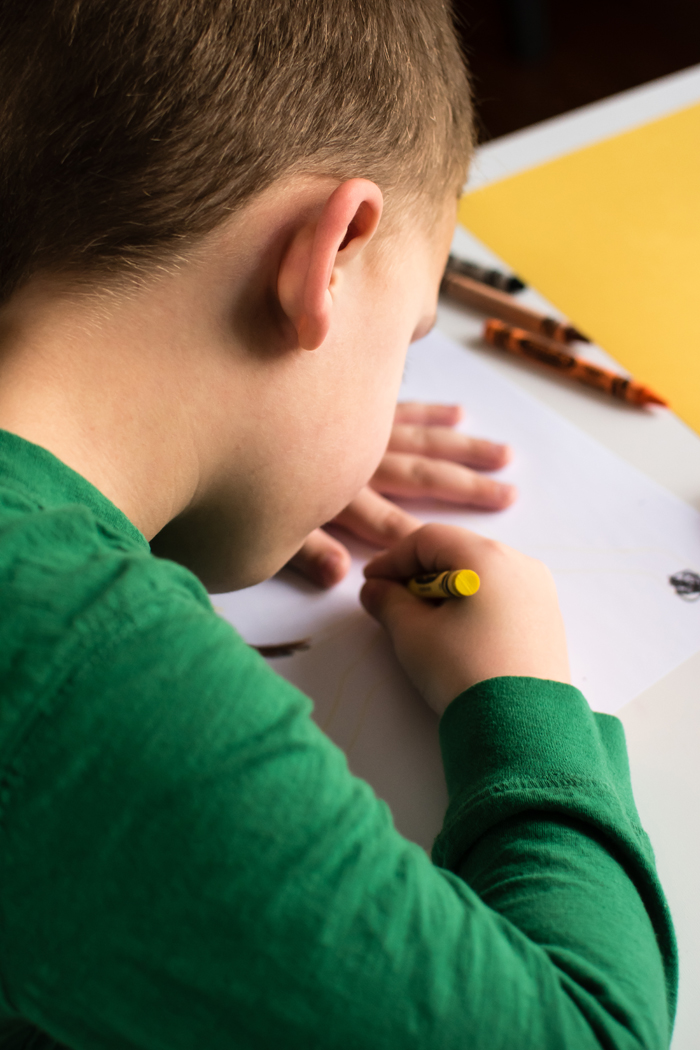
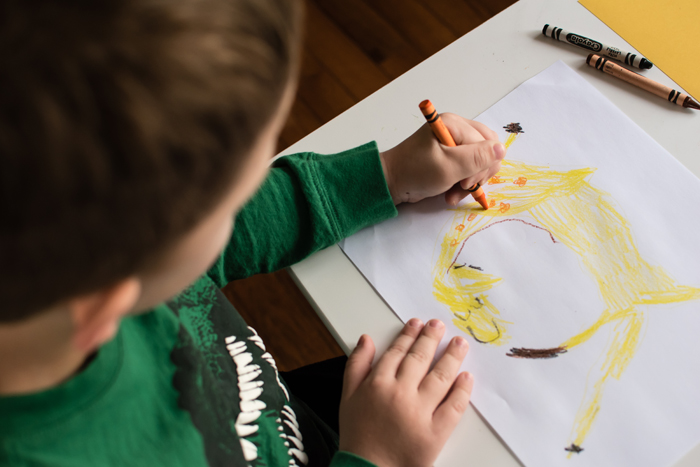
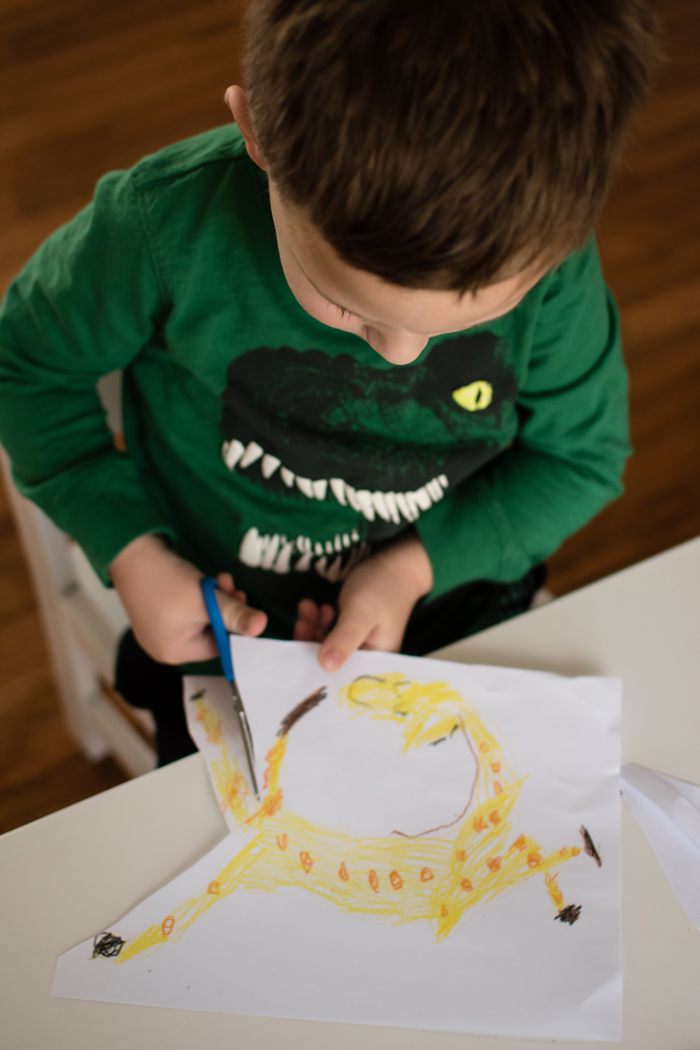
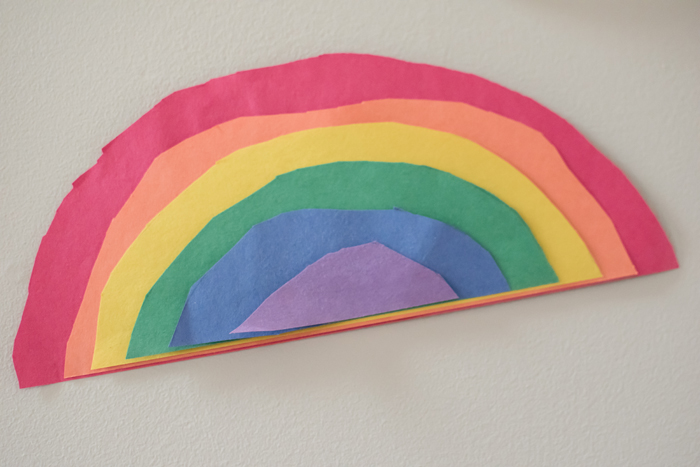
And speaking of rainbow crafts. While I'm usually the one to do crafts with Noah, I'm always surprised and impressed with the things Chris and Noah sometimes come up with. While I got the construction paper for them, they came up with the plan for this rainbow all on their own. And just as Noah doesn't always agree with my artistic visions, he was also debating with Chris on how to execute this rainbow. He didn't understand Chris' idea to make the red the largest semi circle and keep adding smaller semi circles in the remaining colors. But once he understood, he was on board and they made this really cool rainbow! So simple to make and really great for your child to practice cutting and gluing.
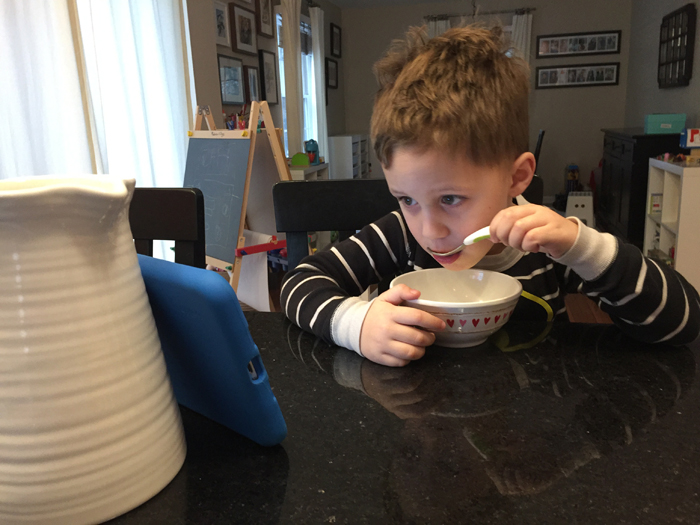
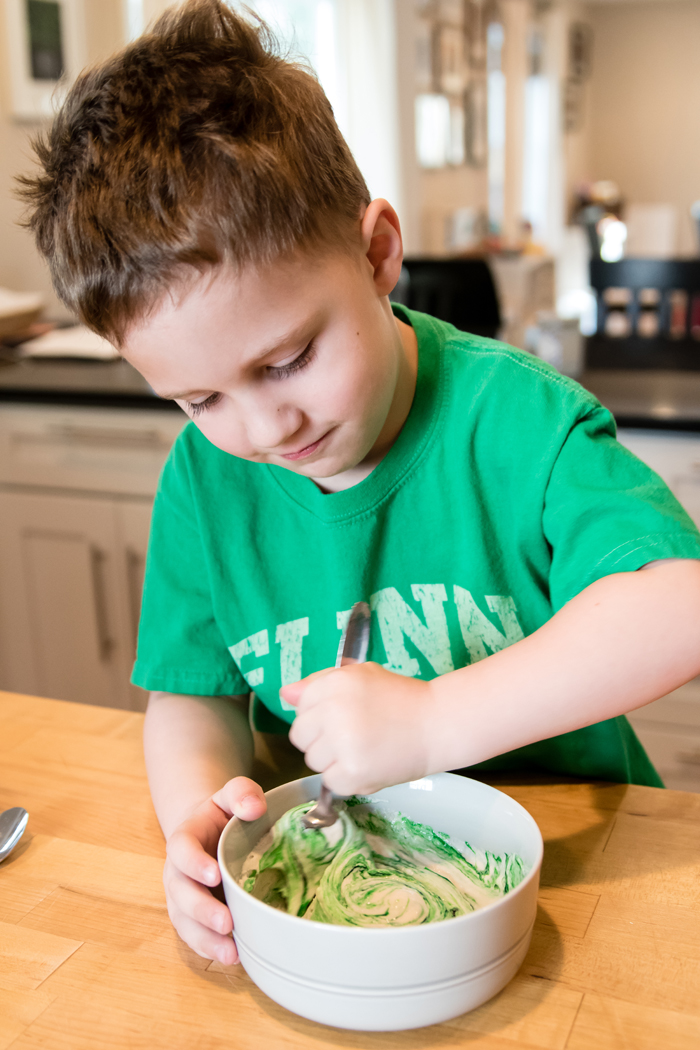
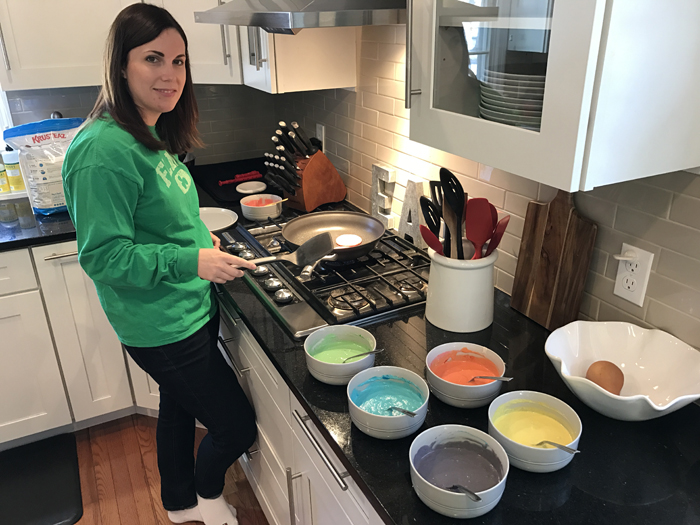
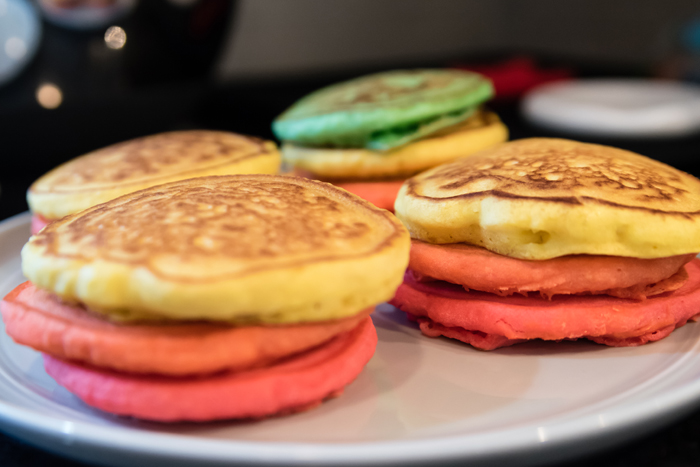
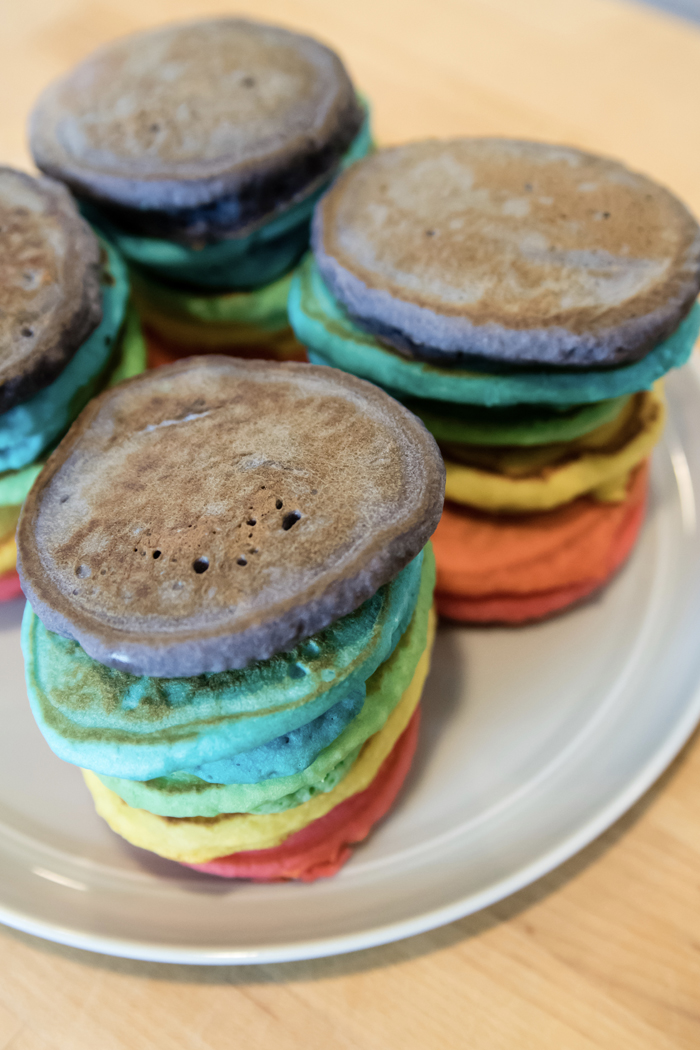
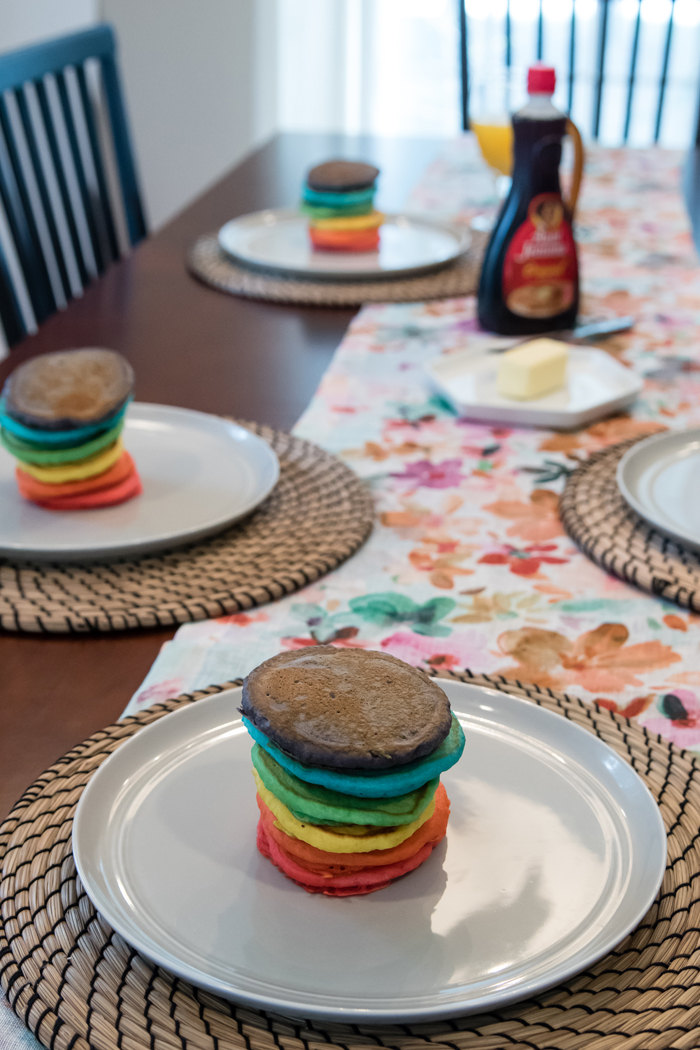
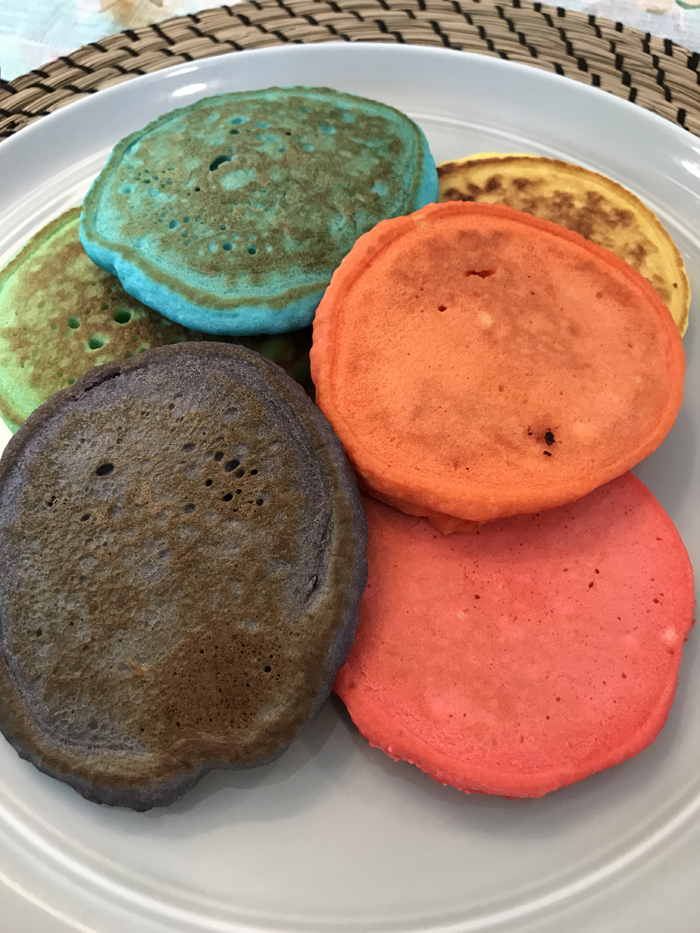
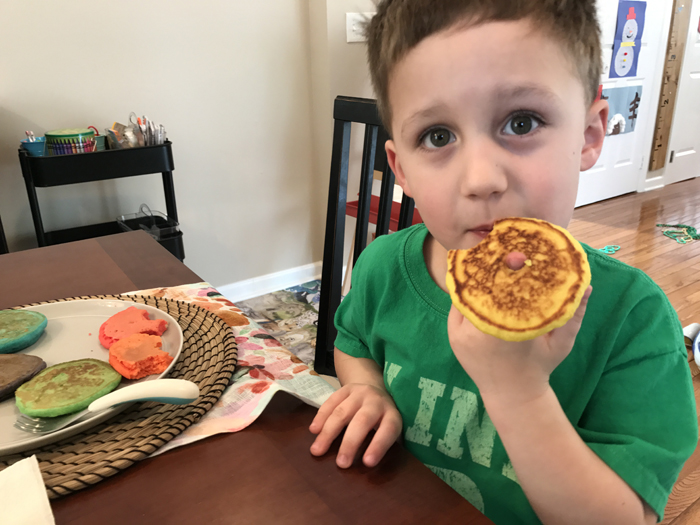
And just like in 2015, we had a Rainbow Pancake Breakfast. Since our last pancake breakfast, I've been making quite a few pancakes. It's one of Noah's favorite breakfasts and requests them to either be in the shape of Mickey Mouse or to be a certain color. While we stick with one color on a regular day, we enjoy making all the rainbow colors for St. Patrick's Day. I use the Krusteaz Buttermilk Pancake mix (I get the big bag from Costco) and simply add some gel food coloring. It really could not be any easier! My only issue is figuring out how to keep them warm while I make them all. Should I put them in the oven?? I would love some suggestions!

I mixed the batter together, which is really just adding water, and then Noah helped mix all the food coloring in. Chris and Noah then showed my mom all of their new "games" while I made the pancakes. Currently I'm just using a large frying pan, but now that I'm making pancakes more often, I really think I need to upgrade to a large skillet. I just can't decide whether to get the kind that sits on the stove or one that plugs into the wall. Any recommendations???
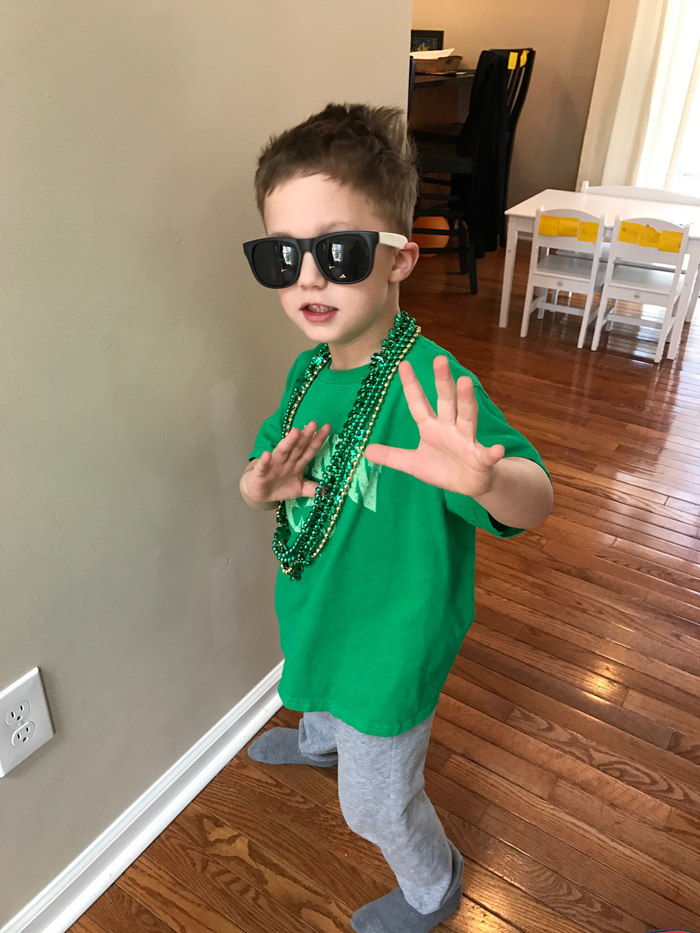
^^^ Noah was showing off everything he got at the parade ;)
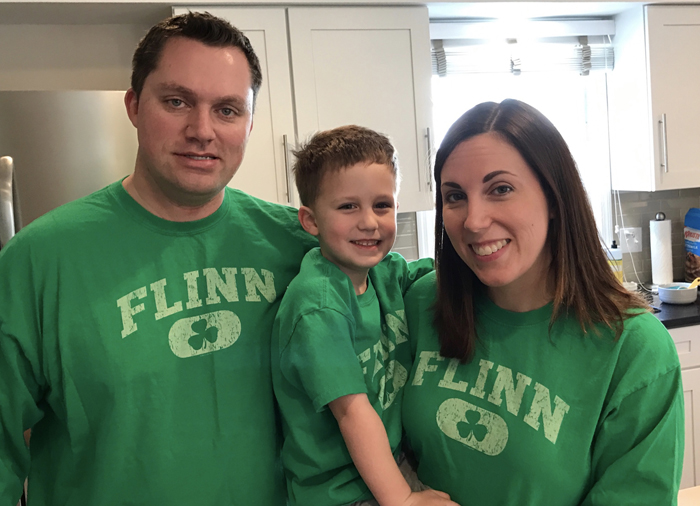
And we obviously had to wear our matching Flinn shirts! Chris' parents got us these back in 2013 for Noah's first St. Patrick's Day. This was the first year that Noah's actually fit!!!
What will you be doing this St. Patrick's Day??

Jessica at Sweet Little Ones | Pinterest | Facebook | Instagram
Stefanie at Lexie Loo, Lily, Liam, & Dylan Too | Pinterest | Facebook | Instagram
Stefanie at Lexie Loo, Lily, Liam, & Dylan Too | Pinterest | Facebook | Instagram
Becky at BYBMG | Pinterest | Facebook | Instagram
Lindsay at Lindsay's Sweet World | Pinterest | Facebook | Instagram
Sarah at Sarah E. Frazer | Pinterest | Facebook | Instagram
Lindsay at Lindsay's Sweet World | Pinterest | Facebook | Instagram
Sarah at Sarah E. Frazer | Pinterest | Facebook | Instagram
Justine at Full Hands, Full Heart
Christina at Waltzing In Beauty | Pinterest | Instagram
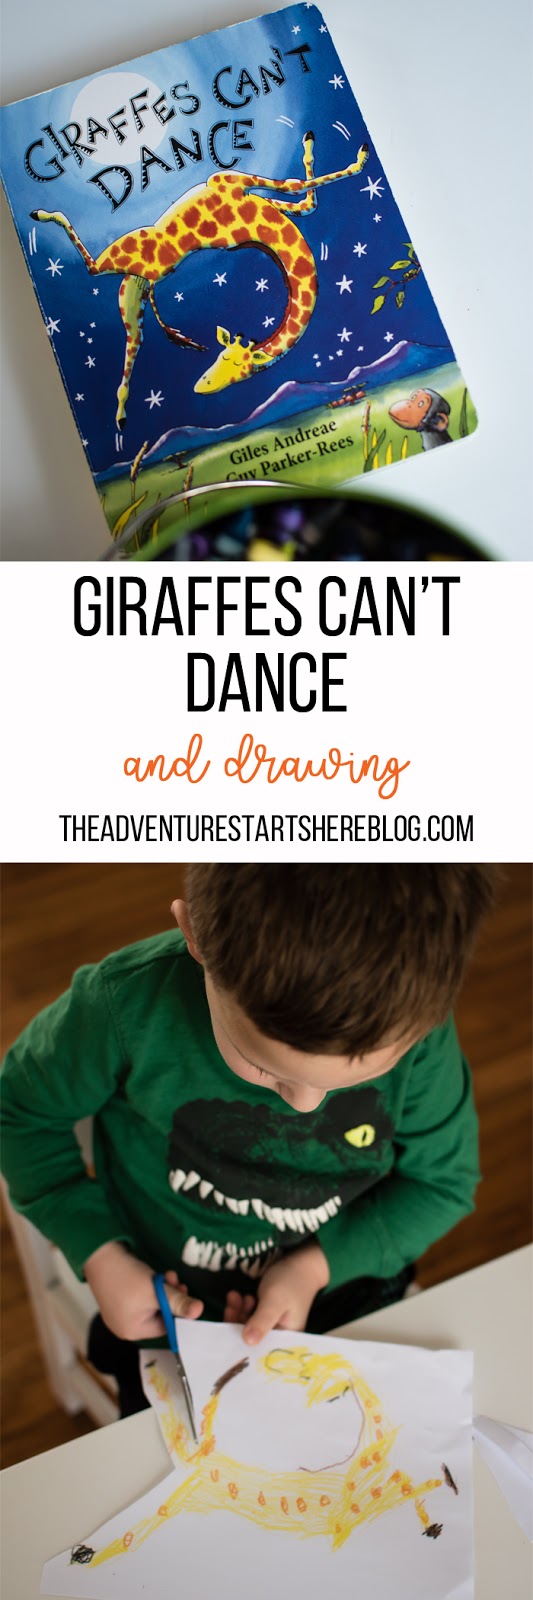
Meghan at The Adventure Starts Here | Pinterest | Facebook | Instagram
Christina at Waltzing In Beauty | Pinterest | Instagram
Meghan at The Adventure Starts Here | Pinterest | Facebook | Instagram